


Azure Data Factory を使用してAPI のデータをインポート

Azure Data Factory(ADF)は、フルマネージドのサーバーレスデータ統合サービスです。 CData Connect AI と組み合わせると、ADF はデータフローでAPI のデータにクラウドベースで即座にアクセスできます。 この記事では、Connect AI を使用してAPI に接続し、ADF でAPI のデータにアクセスする方法を紹介します。
Connect AI からAPI への接続
CData Connect AI では、直感的なクリック操作ベースのインターフェースを使ってデータソースに接続できます。
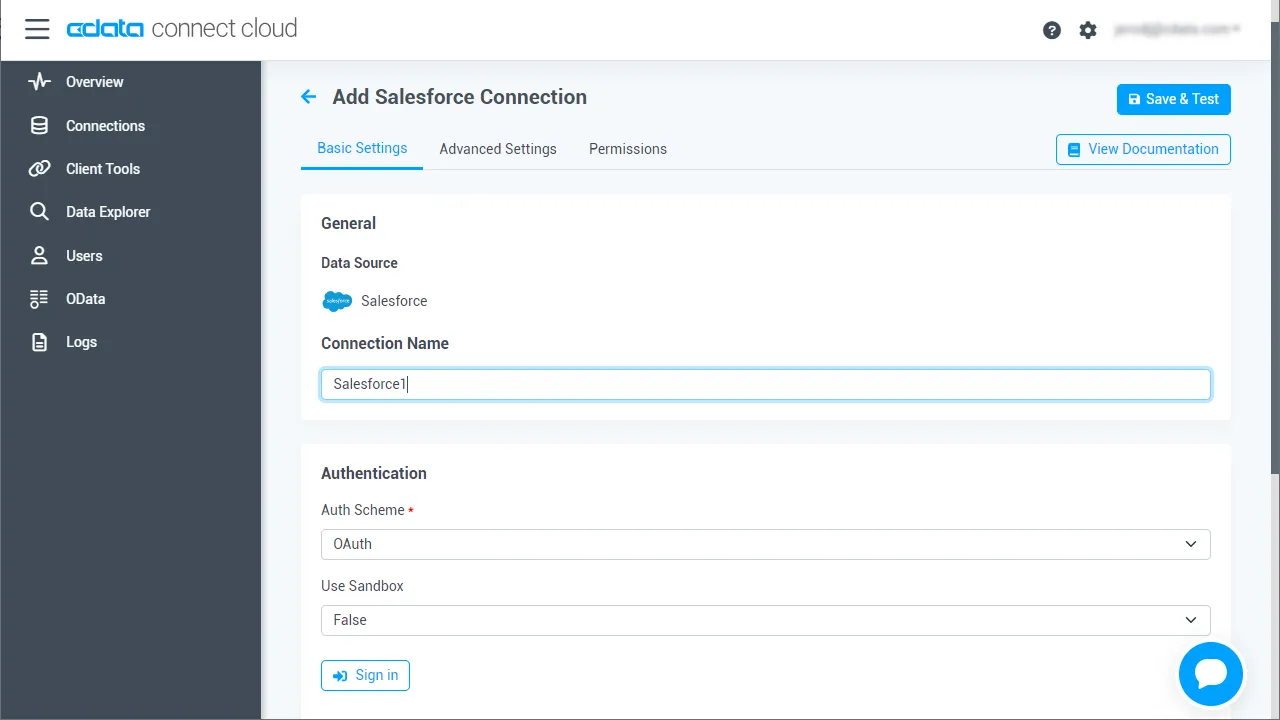
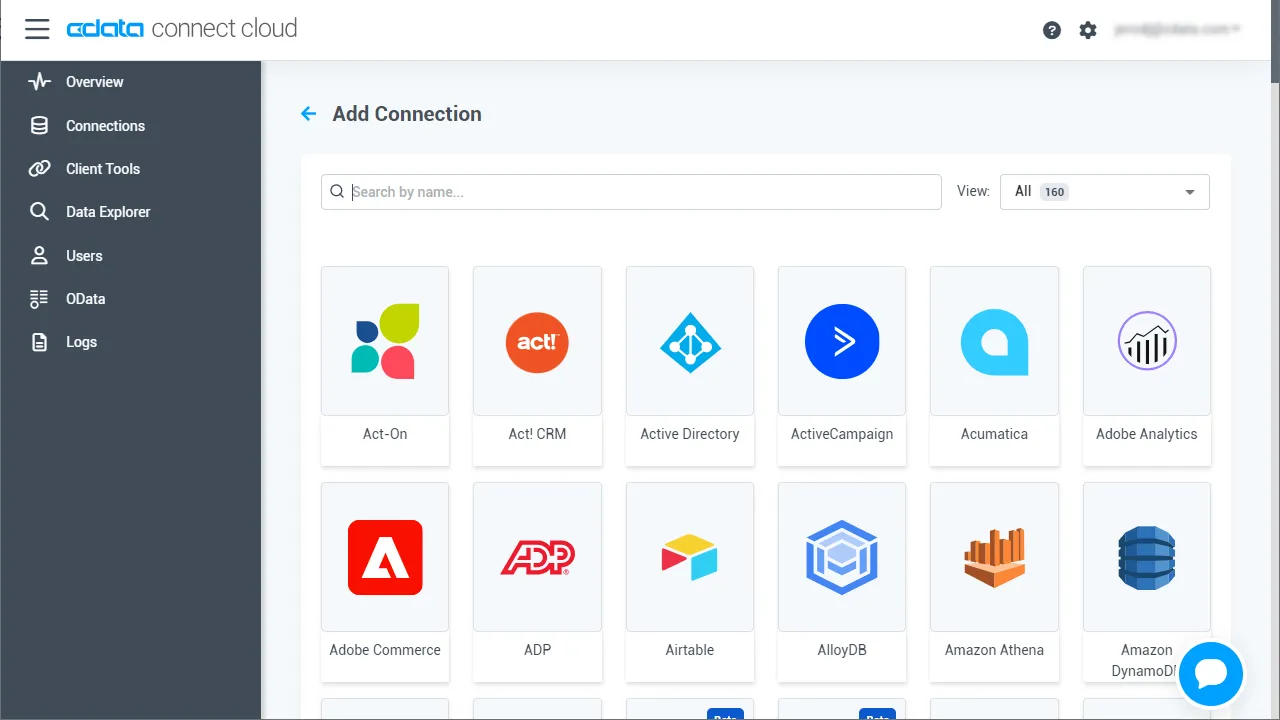
- Connect AI にログインし、 Add Connection をクリックします。
- Add Connection パネルで「API」を選択します。
-
必要な認証プロパティを入力し、API に接続します。
To connect to your API, configure the following properties on the Global Settings page:
- In Authentication, select the Type and fill in the required properties
- In Headers, add the required HTTP headers for your API
- In Pagination, select the Type and fill in the required properties
After the configuring the global settings, navigate to the Tables to add tables. For each table you wish to add:
- Click "+ Add"
- Set the Name for the table
- Set Request URL to the API endpoint you wish to work with
")
- (Optional) In Parameters, add the required URL Parameters for your API endpoint
- (Optional) In Headers, add the required HTTP headers for the API endpoint
- In Table Data click " Configure"
- Review the response from the API and click "Next"
")
- Select which element to use as the Repeated Elements and which elements to use as Columns and click "Next"
")
- Preview the tabular model of the API response and click "Confirm"
")
- Create & Test をクリックします。
-
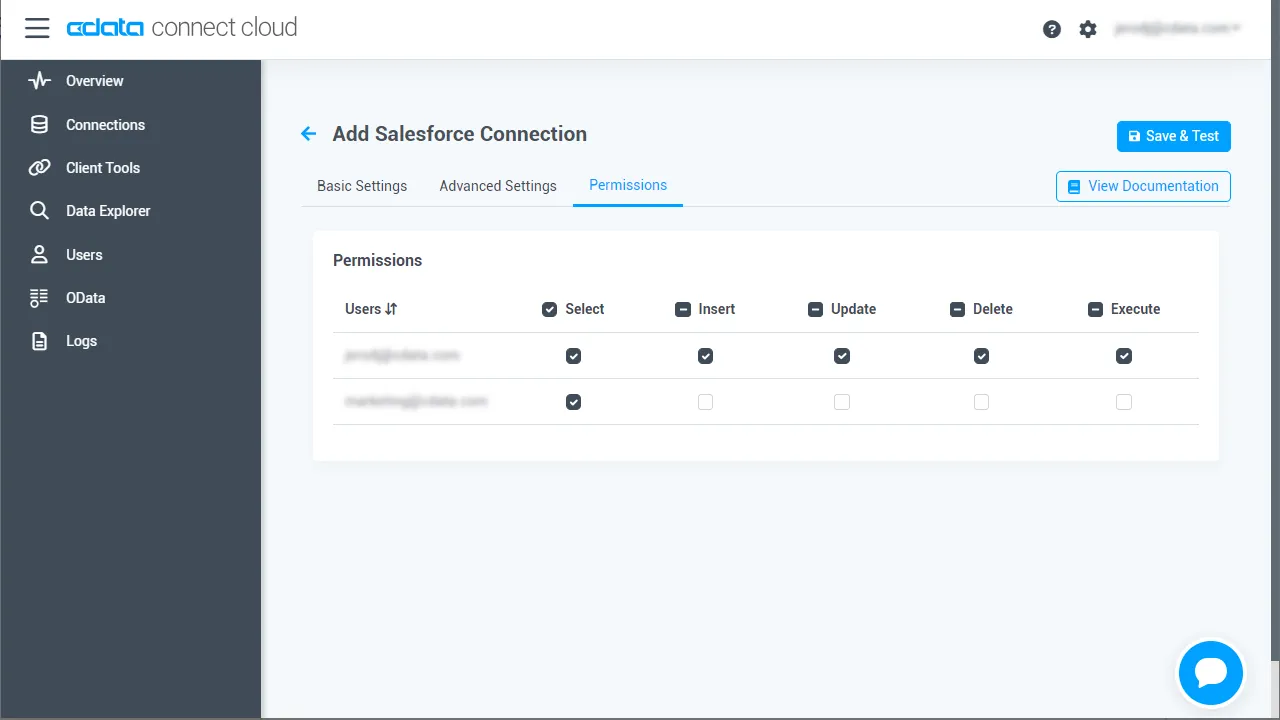
Add API Connection ページのPermissions タブに移動し、ユーザーベースのアクセス許可を更新します。
パーソナルアクセストークンの取得
OAuth 認証をサポートしていないサービス、アプリケーション、プラットフォーム、またはフレームワークから接続する場合は、認証に使用するパーソナルアクセストークン(PAT)を作成できます。 きめ細かなアクセス管理を行うために、サービスごとに個別のPAT を作成するのがベストプラクティスです。
- Connect AI アプリの右上にあるユーザー名をクリックし、「User Profile」をクリックします。
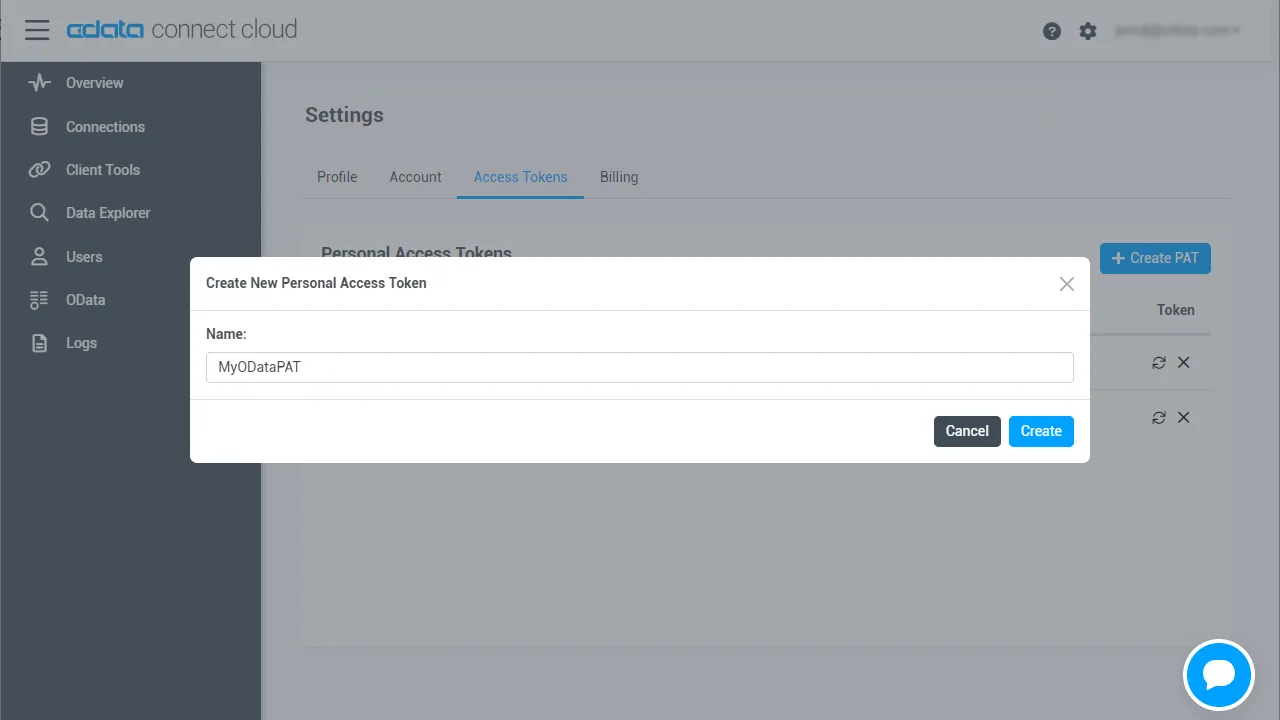
- User Profile ページでPersonal Access Token セクションにスクロールし、 Create PAT をクリックします。
- PAT の名前を入力して Create をクリックします。
- パーソナルアクセストークンは作成時にしか表示されないため、必ずコピーして安全に保存してください。
接続設定が完了すると、Azure Data Factory からAPI のデータへ接続できるようになります。
Azure Data Factory からリアルタイムAPI のデータにアクセス
Azure Data Factory からCData Connect AI の仮想SQL Server API への接続を確立するには、以下の手順を実行します。
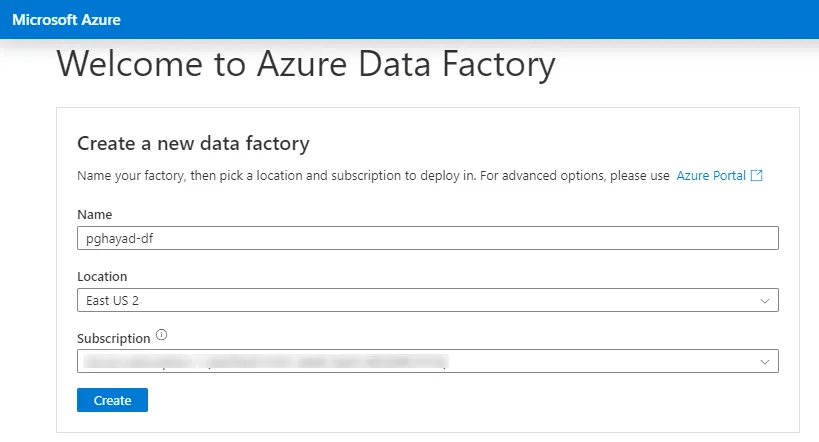
- Azure Data Factory にログインします。
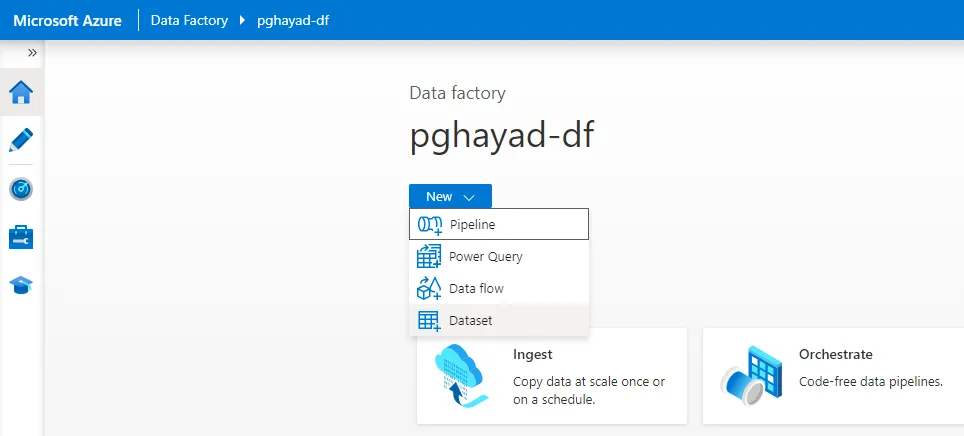
- まだData Factory を作成していない場合は、「New -> Dataset」をクリックします。
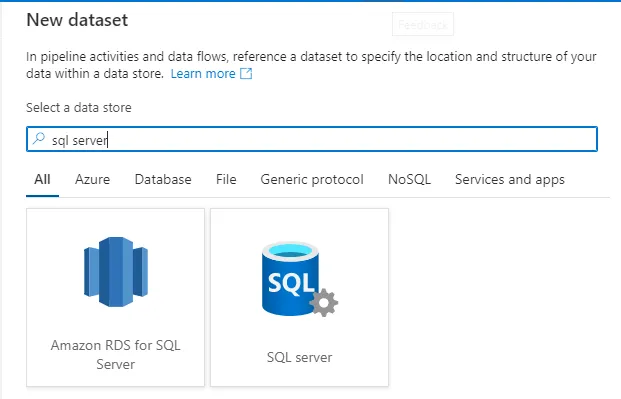
- 検索バーにSQL Server と入力し、表示されたら選択します。次の画面で、サーバーの名前を入力します。 Linked service フィールドで「New」を選択します。
-
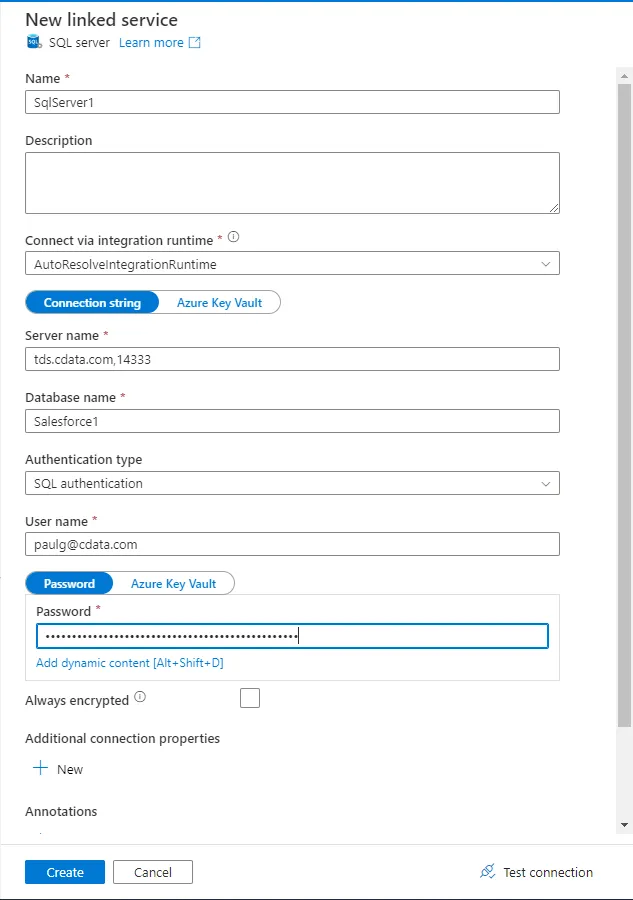
接続設定を入力します。
- Name - 任意の名前を入力。
- Server name - 仮想SQL Server のエンドポイントとポートをカンマで区切って入力。例:tds.cdata.com,14333
- Database name - 接続したいCData Connect AI データソースのConnection Name を入力。例:API1
- User Name - CData Connect AI のユーザー名を入力。ユーザー名はCData Connect AI のインターフェースの右上に表示されています。 例:[email protected]
- Password - Password(Azure Key Vault ではありません)を選択してSettings ページで生成したPAT を入力。
- 「Create」をクリックします。
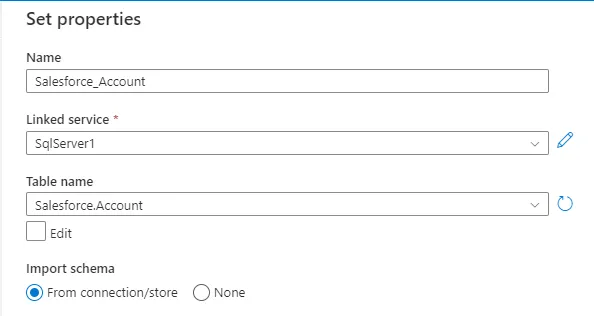
- Set properties で、Name を設定し、続けて先ほど作成したLinked service、利用可能なTable name、Import schema のfrom connection/store を選択します。 「OK」をクリックします。
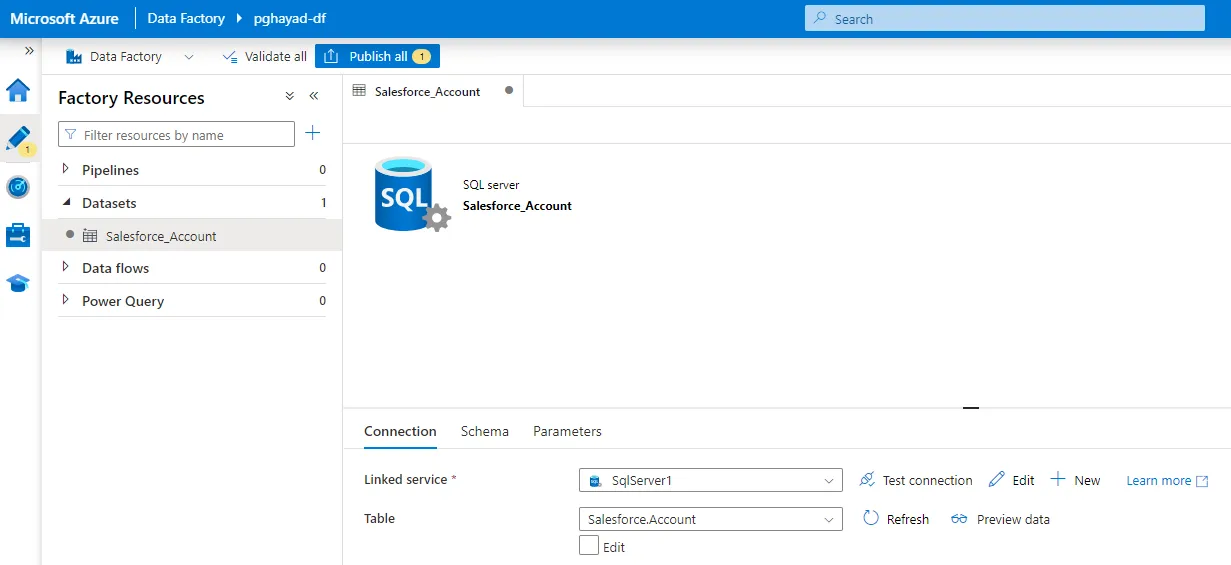
- リンクされたサービスを作成すると、以下の画面が表示されます。
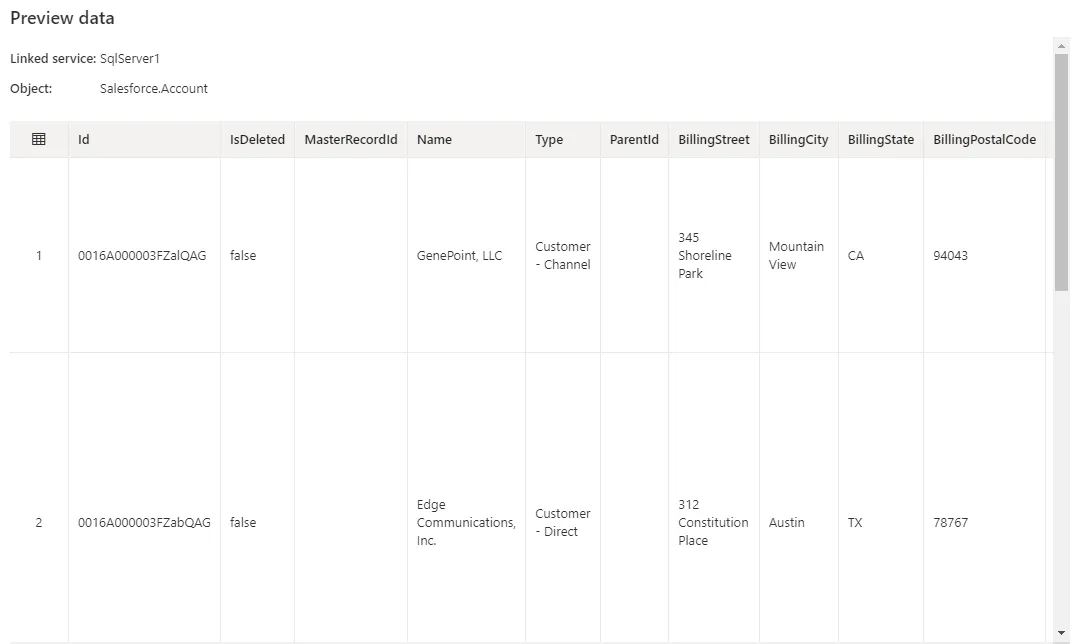
- Preview data をクリックすると、インポートされたAPI テーブルが表示されます。
 Azure Data Factory でデータフローを作成する際、このデータセットを使用できるようになりました。
CData Connect AI の入手
CData Connect AI の14日間無償トライアルを利用して、クラウドアプリケーションから直接100を超えるSaaS、ビッグデータ、NoSQL データソースへのSQL アクセスをお試しください!