


OutSystems でAPI に接続されたエンタープライズアプリケーションを作成

OutSystems は、企業がオムニチャネルのエンタープライズアプリケーションを開発、展開、管理するためのツールを提供するローコードプラットフォームです。CData Connect AI と組み合わせると、ビジネスアプリケーション用にAPI のデータにクラウド上でアクセスできます。この記事では、Connect AI にAPI の仮想データベースを作成し、OutSystems でAPI のデータから単純なアプリを構築する方法を説明します。
Connect AI からAPI に接続する
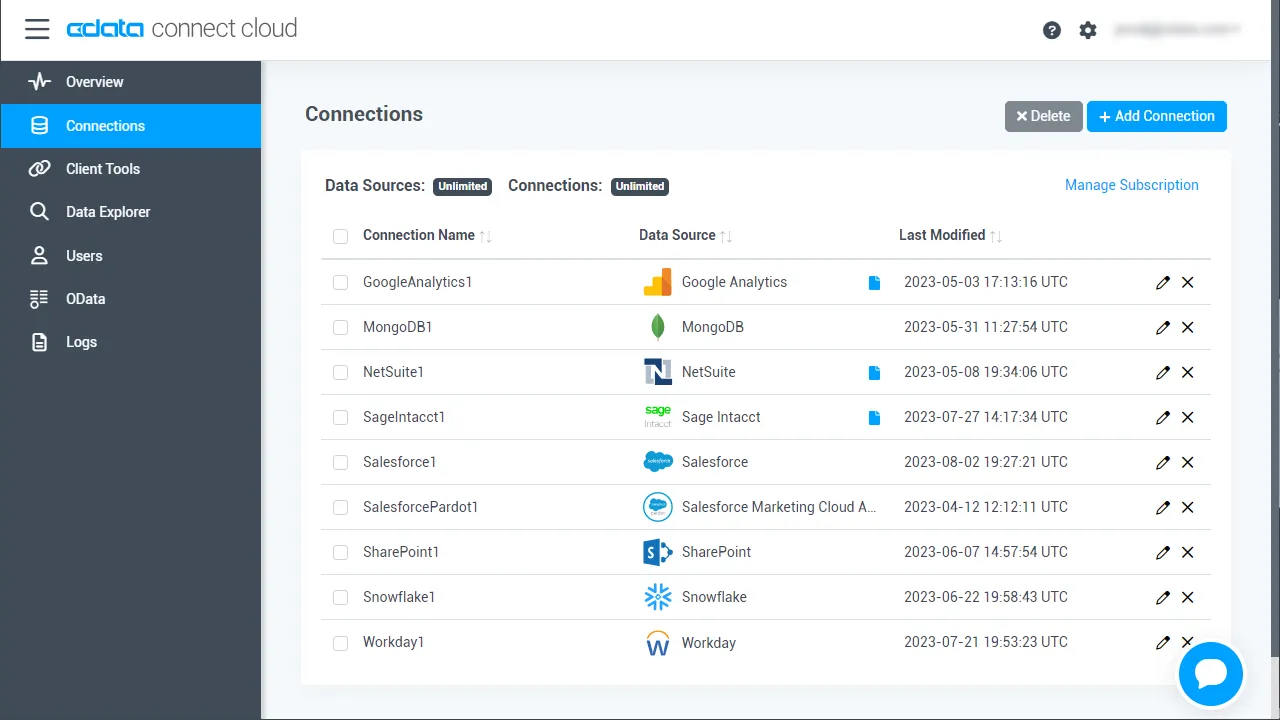
CData Connect AI は直感的なクリック操作ベースのインターフェースを使ってデータソースに接続します。- Connect AI にログインし、 Add Connection をクリックします。
- Add Connection パネルから「API」を選択します。
-
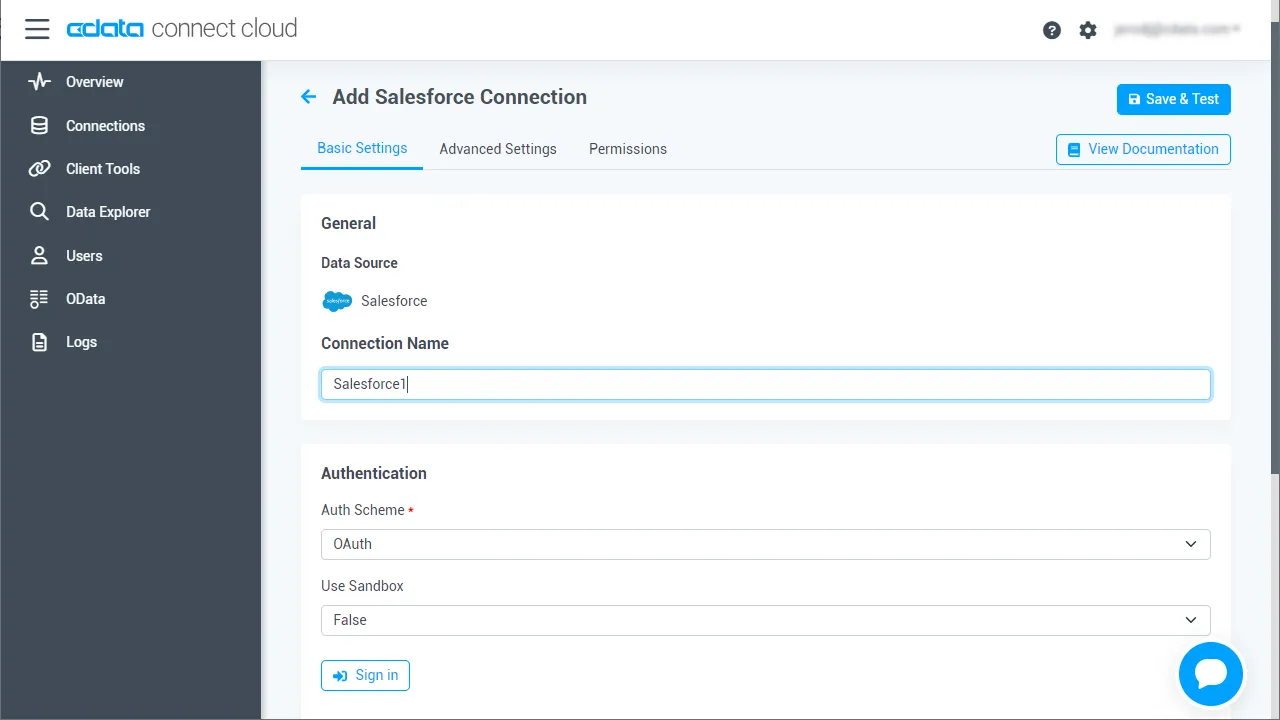
必要な認証情報を入力し、API に接続します。
To connect to your API, configure the following properties on the Global Settings page:
- In Authentication, select the Type and fill in the required properties
- In Headers, add the required HTTP headers for your API
- In Pagination, select the Type and fill in the required properties
After the configuring the global settings, navigate to the Tables to add tables. For each table you wish to add:
- Click "+ Add"
- Set the Name for the table
- Set Request URL to the API endpoint you wish to work with
")
- (Optional) In Parameters, add the required URL Parameters for your API endpoint
- (Optional) In Headers, add the required HTTP headers for the API endpoint
- In Table Data click " Configure"
- Review the response from the API and click "Next"
")
- Select which element to use as the Repeated Elements and which elements to use as Columns and click "Next"
")
- Preview the tabular model of the API response and click "Confirm"
")
- Create & Test をクリックします。
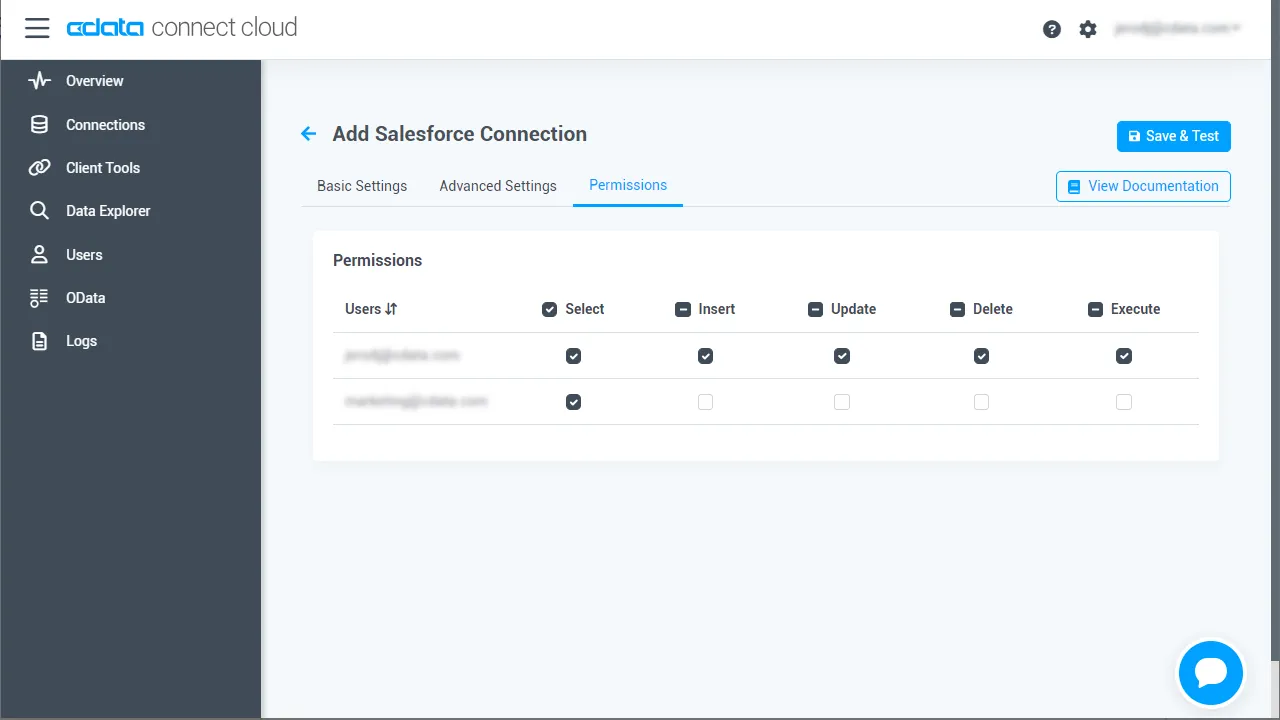
- Add API Connection ページのPermissions タブに移動し、ユーザーベースのアクセス許可を更新します。
パーソナルアクセストークンを追加する
OAuth 認証をサポートしないサービス、アプリケーション、プラットフォーム、フレームワークから接続する場合、パーソナルアクセストークン(Personal Access Token, PAT)を認証に使用できます。きめ細かくアクセスを管理するために、サービスごとに個別のPAT を作成するのがベストプラクティスです。
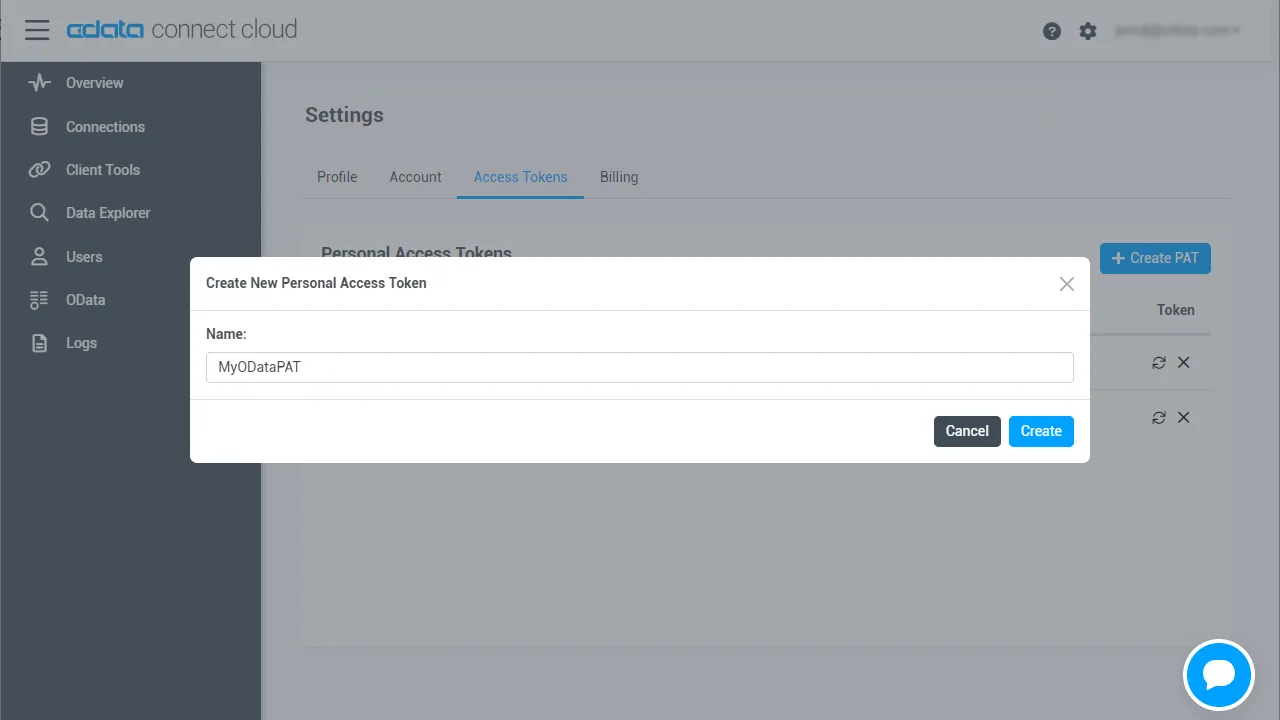
- User Profile ページでPersonal Access Token セクションにスクロールし、 Create PAT をクリックします。
- PAT の名前を入力して Create をクリックします。
- パーソナルアクセストークンは作成時にしか表示されないため、必ずコピーして安全に保存してください。
コネクションが構成されたら、OutSystems からAPI に接続できるようになります。
OutSystems からAPI に接続する
以下のステップでは、OutSystems からCData Connect AI に接続して新しいAPI のデータベース接続を作成する方法の概要を説明します。
- OutSystems Service Studio を開きます。
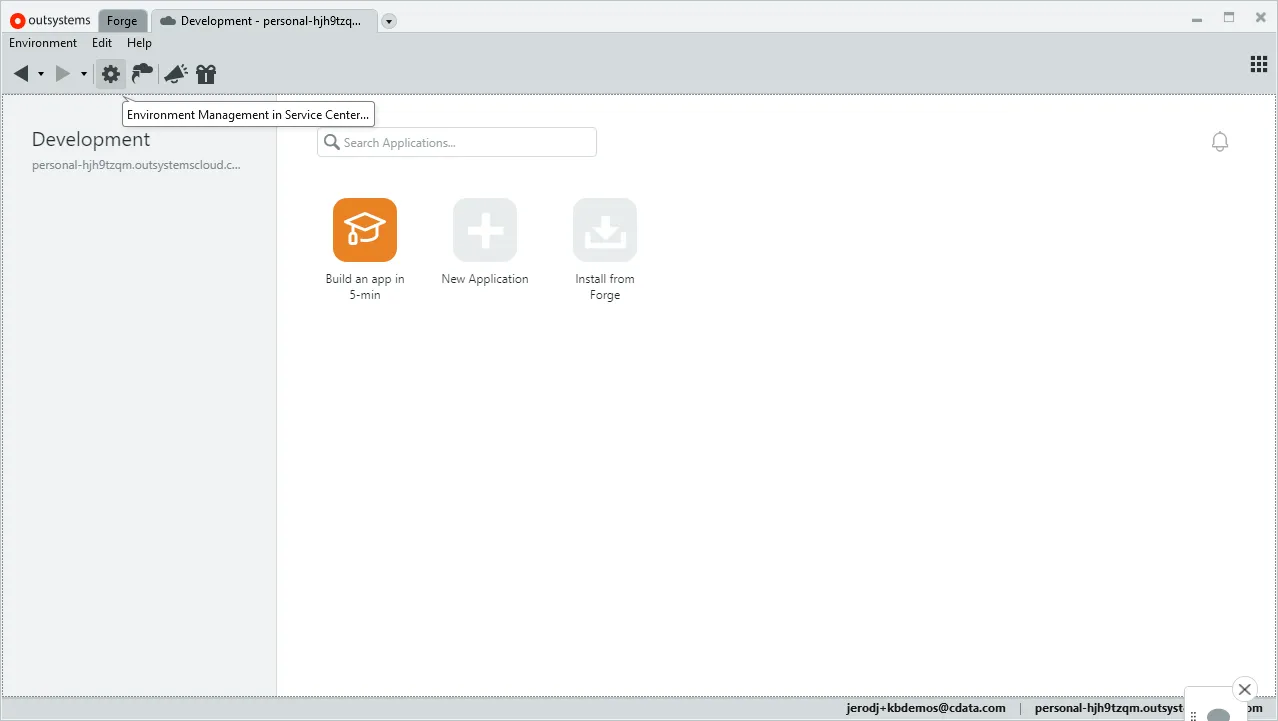
- 歯車アイコン をクリックし、Service Center のEnvironment Management を開きます。
- Administration をクリックして「Database Connections」を選択します。
- 「New Database Connection」をクリックします。
- データベース接続を設定します。
- Name:接続の名称(例:CData Connect AI API)
- DBMS:SQL Server またはAzure SQL
- Username:Connect AI ユーザー(例:[email protected])
- Password:Connect AI ユーザーのPAT
- Server:tds.cdata.com,14333
- Schema:API コネクションの名前(例: API1)
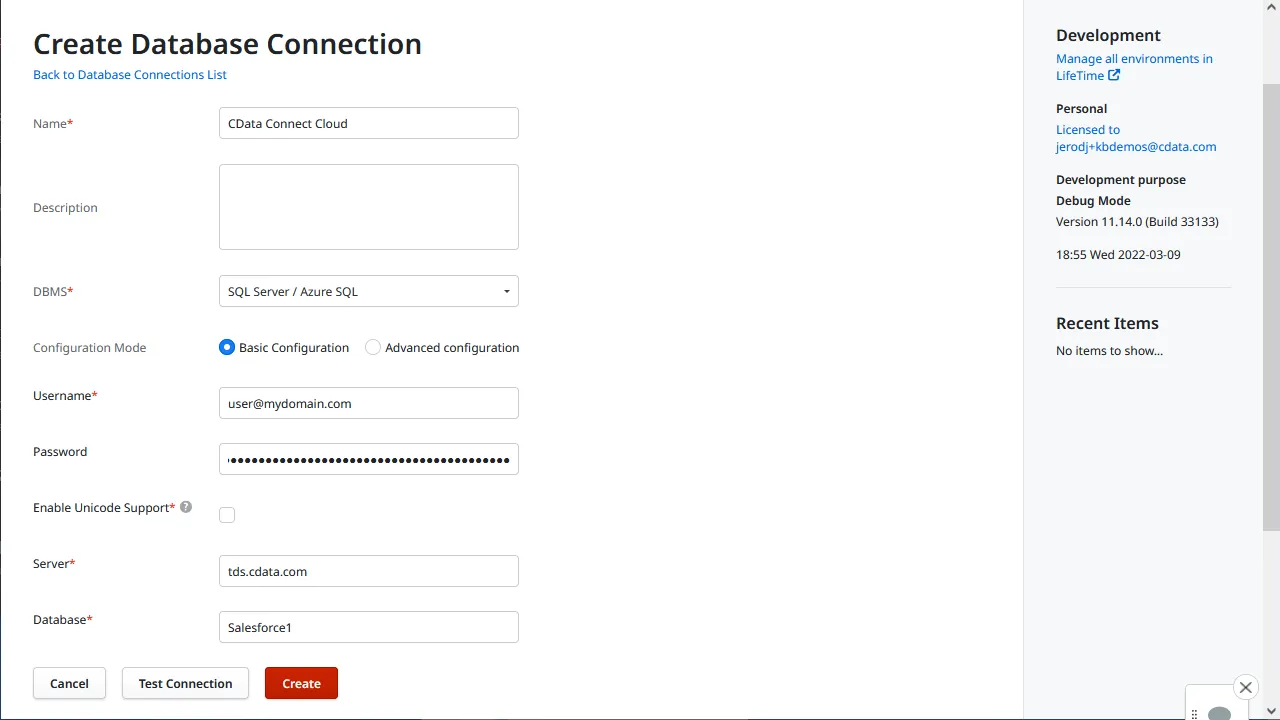
- 「Test Connection」をクリックします。
- 「Create」をクリックします。
API テーブルまたはビューを拡張モジュールのエンティティにマップする
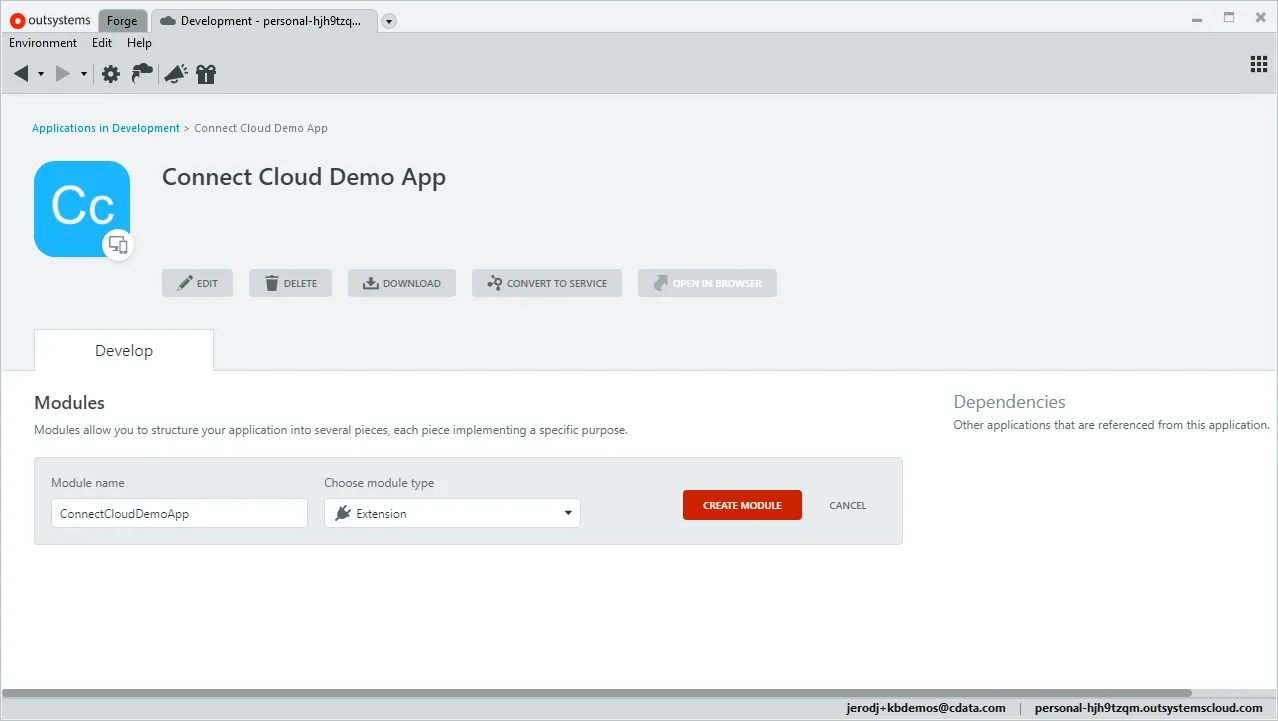
API のデータベース接続を作成したら、テーブルまたはビューをOutSystems のエンティティにマップする拡張機能を作成できます。作成していない場合は、Service Studio でアプリケーションを作成します。
- Service Studio を開き、既存のアプリケーションを開きます。
- 「Add Module」をクリックし、「Module Name」(例:api_db_extension)を設定し、「Module Type」を「Extension」に設定して、「Create Module」をクリックします。
- Integration Studio で、環境に接続します。
- 拡張ツリーで「Entities」を右クリックし、「Connect to External Table or View...」を選択します。
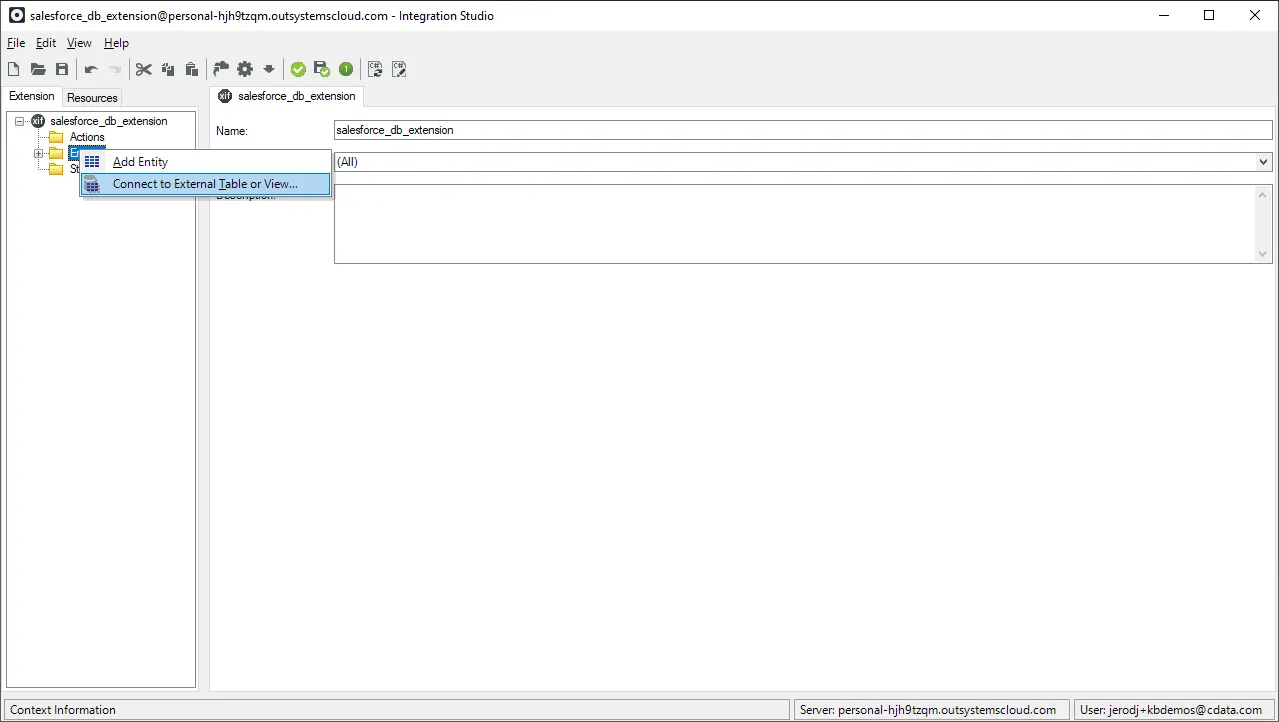
- ウィザードのステップに従って、使用するテーブルおよびビューを選択します。
- Integration Studio で「1-Click Publish」をクリックします。
- 「1-Click Publish」ウィザードでプロセスが完了したら、「Configure」をクリックします。
- Service Center で、拡張機能の論理データベース名を、拡張機能が使用するデータベース接続に関連付け、「Apply」をクリックします。
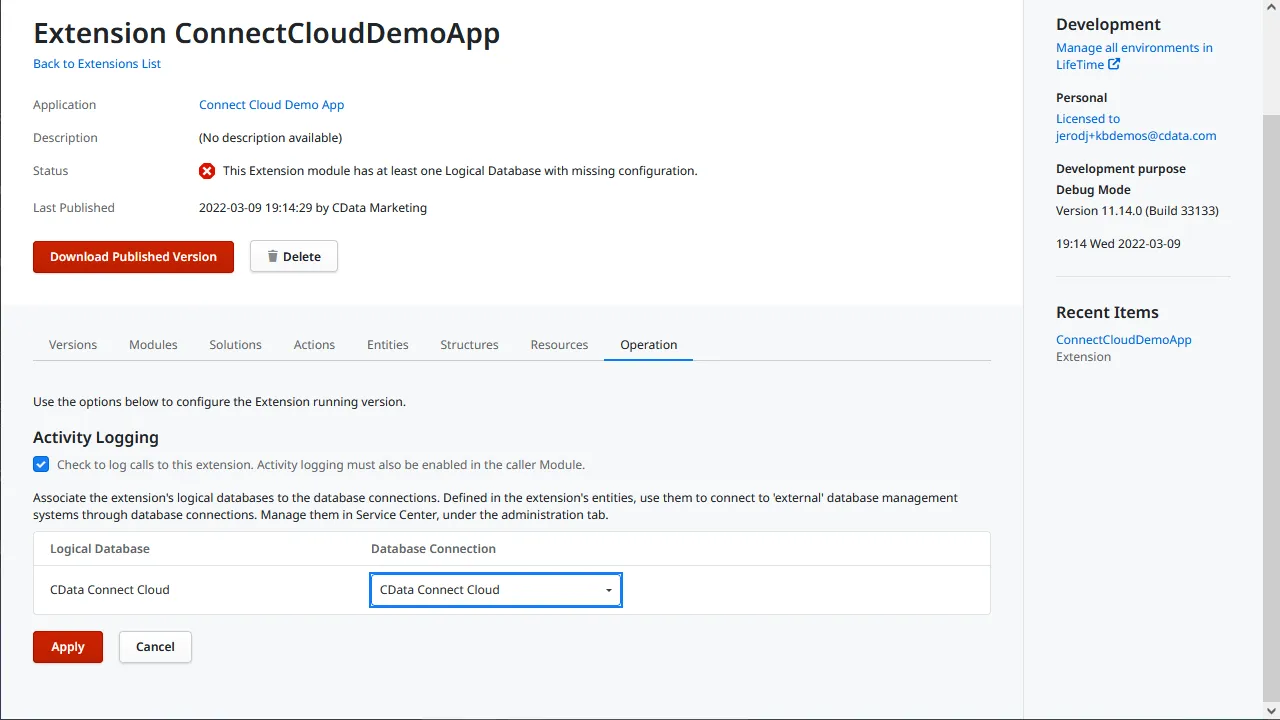
- Service Center で、拡張機能の論理データベース名を、拡張機能が使用するデータベース接続に関連付け、「Apply」をクリックします。
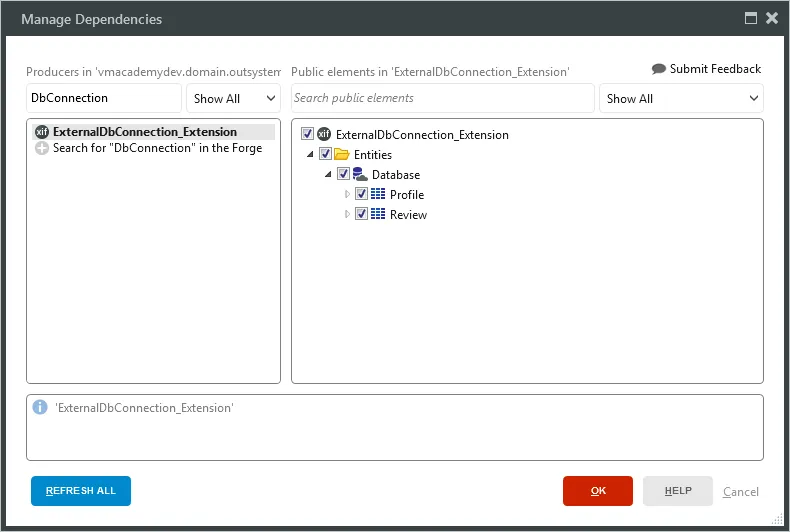
- アプリケーションで「Manage Dependencies...」をクリックします。
- 拡張機能に依存関係を追加し、アプリケーションで使用するエンティティを選択します。
これで、標準のOutSystems エンティティと同じように、API のデータにアクセスして操作できます。
詳細と無償トライアル
Connect AI とOutSystems を使用すると、API に接続されたアプリケーションを簡単に構築できます。今すぐOutSystems のAPI のデータで作業を開始するには、Connect AI の無償トライアルにサインアップしてください。