


【ノーコード】Slingshot からAPI のデータに接続するバックエンドAPI を開発

CData API Server を使って、Slingshot から API に接続してダッシュボードを作成する方法を説明します。
API Server の設定
以下のリンクからAPI Server の無償トライアルをスタートしたら、セキュアなAPI OData サービスを作成していきましょう。
API への接続
Slingshot からAPI のデータを操作するには、まずyour API への接続を作成・設定します。
- API Server にログインして、「Connections」をクリック、さらに「接続を追加」をクリックします。
- 「接続を追加」をクリックして、データソースがAPI Server に事前にインストールされている場合は、一覧から「API」を選択します。
- 事前にインストールされていない場合は、コネクタを追加していきます。コネクタ追加の手順は以下の記事にまとめてありますので、ご確認ください。
CData コネクタの追加方法はこちら >> - それでは、API への接続設定を行っていきましょう!
-
To connect to your API, configure the following properties on the Global Settings page:
- In Authentication, select the Type and fill in the required properties
- In Headers, add the required HTTP headers for your API
- In Pagination, select the Type and fill in the required properties
After the configuring the global settings, navigate to the Tables to add tables. For each table you wish to add:
- Click "+ Add"
- Set the Name for the table
- Set Request URL to the API endpoint you wish to work with
")
- (Optional) In Parameters, add the required URL Parameters for your API endpoint
- (Optional) In Headers, add the required HTTP headers for the API endpoint
- In Table Data click " Configure"
- Review the response from the API and click "Next"
")
- Select which element to use as the Repeated Elements and which elements to use as Columns and click "Next"
")
- Preview the tabular model of the API response and click "Confirm"
")
- 接続情報の入力が完了したら、「保存およびテスト」をクリックします。
To connect to your API, configure the following properties on the Global Settings page:
- In Authentication, select the Type and fill in the required properties
- In Headers, add the required HTTP headers for your API
- In Pagination, select the Type and fill in the required properties
After the configuring the global settings, navigate to the Tables to add tables. For each table you wish to add:
- Click "+ Add"
- Set the Name for the table
- Set Request URL to the API endpoint you wish to work with
- (Optional) In Parameters, add the required URL Parameters for your API endpoint
- (Optional) In Headers, add the required HTTP headers for the API endpoint
- In Table Data click " Configure"
- Review the response from the API and click "Next"
- Select which element to use as the Repeated Elements and which elements to use as Columns and click "Next"
- Preview the tabular model of the API response and click "Confirm"
API Server のユーザー設定
次に、API Server 経由でAPI にアクセスするユーザーを作成します。「Users」ページでユーザーを追加・設定できます。やってみましょう。
- 「Users」ページで ユーザーを追加をクリックすると、「ユーザーを追加」ポップアップが開きます。
-
次に、「ロール」、「ユーザー名」、「権限」プロパティを設定し、「ユーザーを追加」をクリックします。

-
その後、ユーザーの認証トークンが生成されます。各ユーザーの認証トークンとその他の情報は「Users」ページで確認できます。

API 用のAPI エンドポイントの作成
ユーザーを作成したら、API のデータ用のAPI エンドポイントを作成していきます。
-
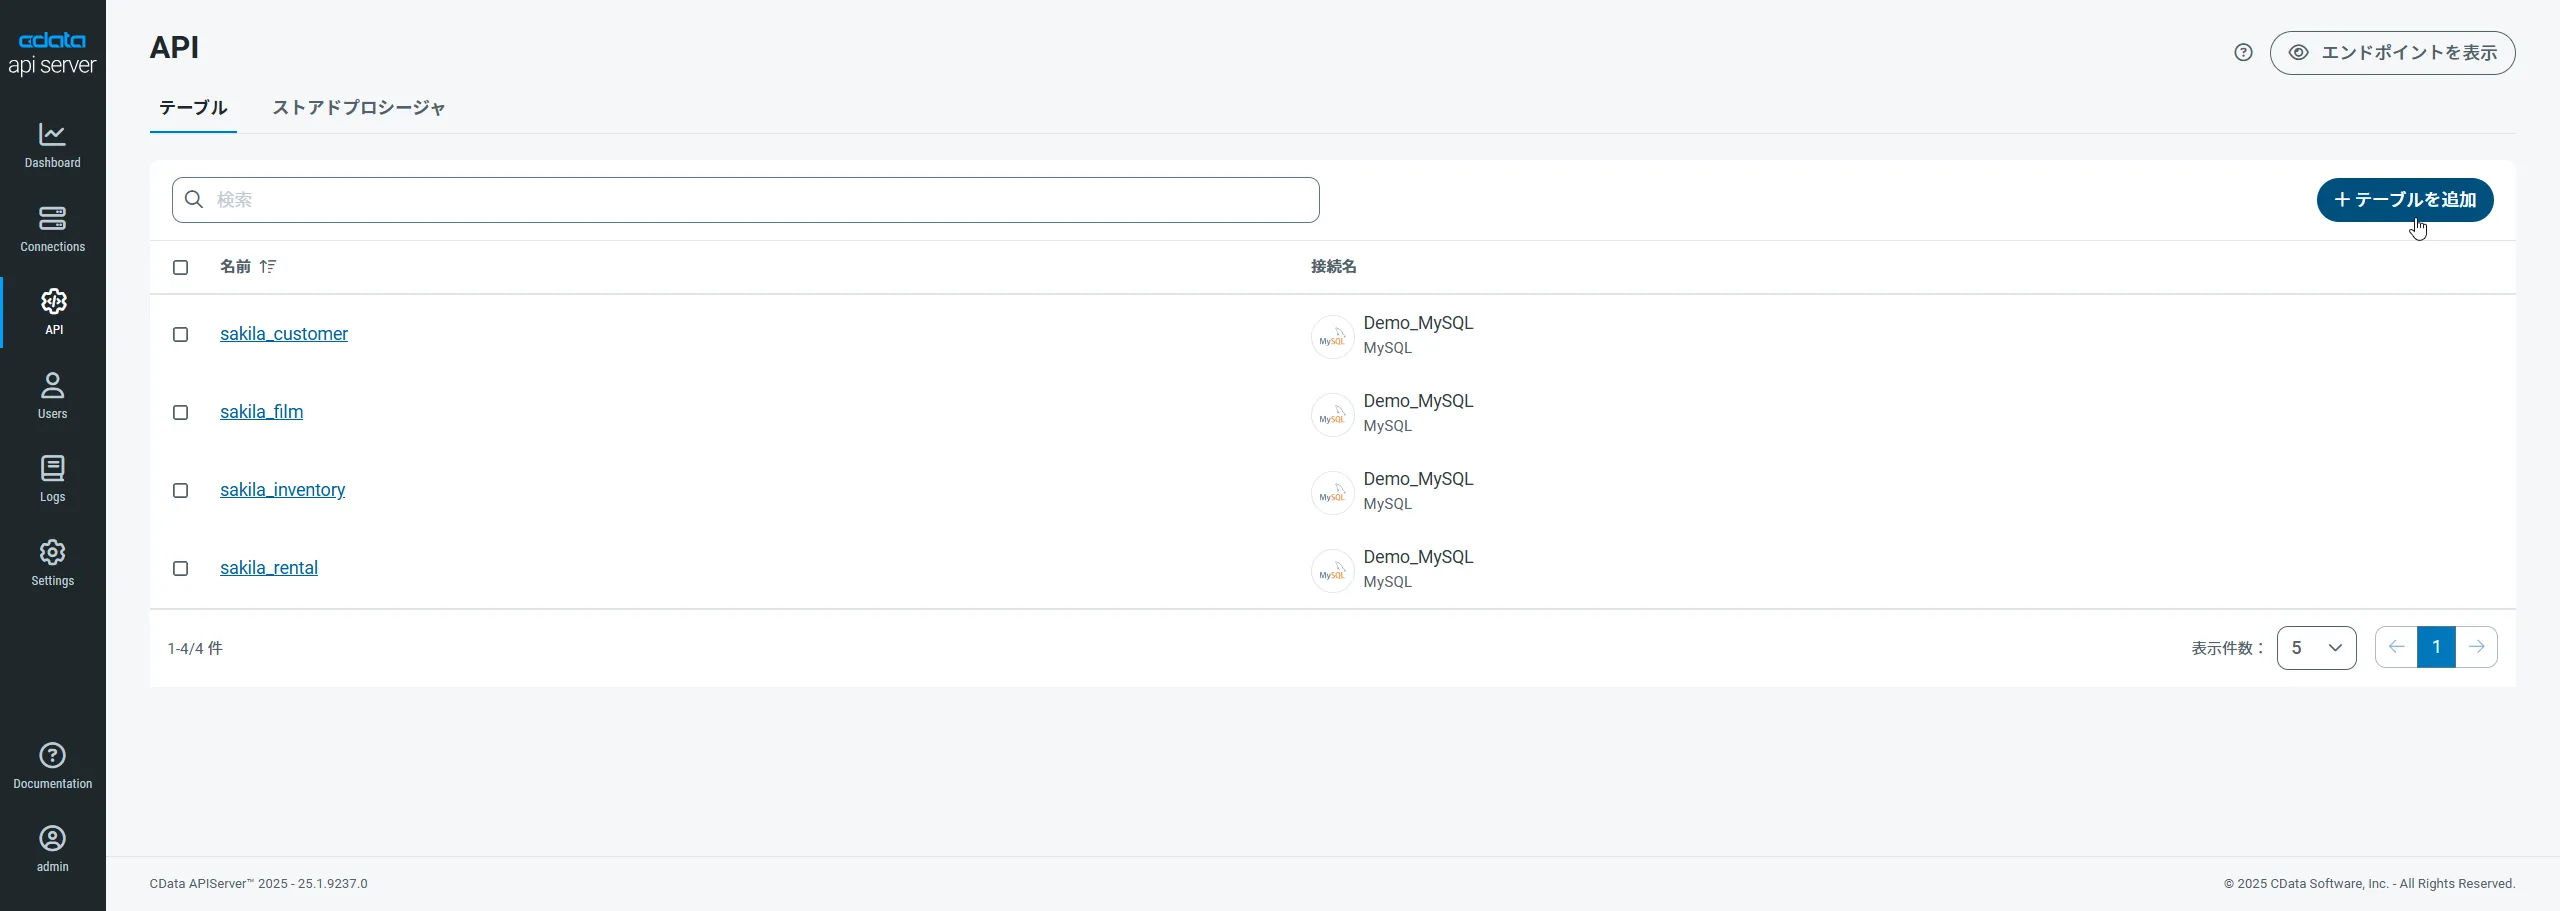
まず、「API」ページに移動し、
「 テーブルを追加」をクリックします。
-
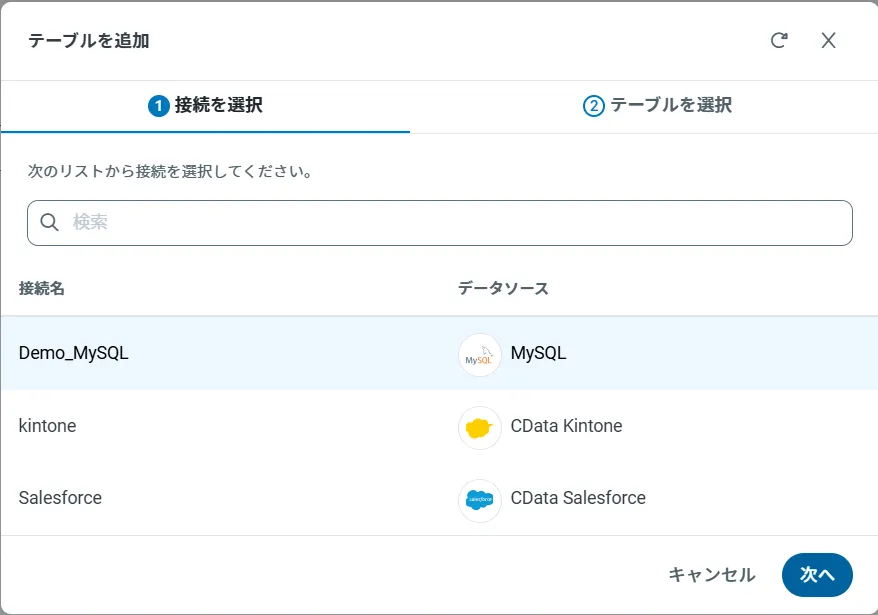
アクセスしたい接続を選択し、次へをクリックします。
-
接続を選択した状態で、各テーブルを選択して確認をクリックすることでエンドポイントを作成します。

OData のエンドポイントを取得
以上でAPI への接続を設定してユーザーを作成し、API Server でAPI データのAPI を追加しました。これで、OData 形式のAPI データをREST API で利用できます。API Server の「API」ページから、API のエンドポイントを表示およびコピーできます。

(任意)オンプレミスDB やファイルからのAPI Server 使用
オンプレミスRDB やExcel / CSV などのファイルのデータをセキュアに外部公開する場合には、API Server のCloud Gateway / SSH ポートフォワーディングが便利です。Cloud Gateway の設定方法 記事を参考にしてください。
Slingshot にデータソースを追加する
CData API Server の設定が完了したら、Slingshot 側に接続設定を追加しましょう。
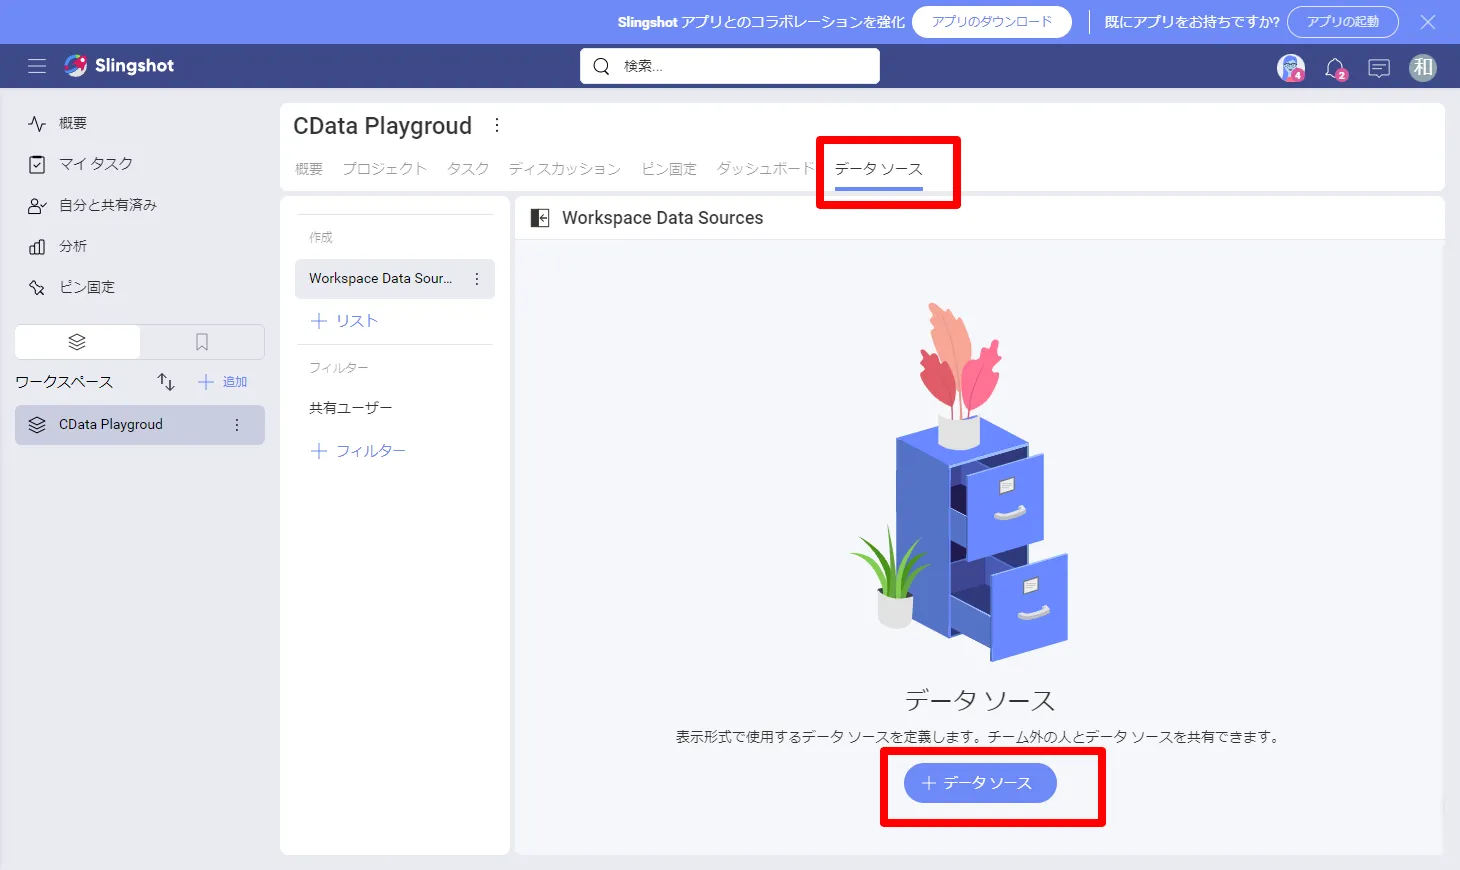
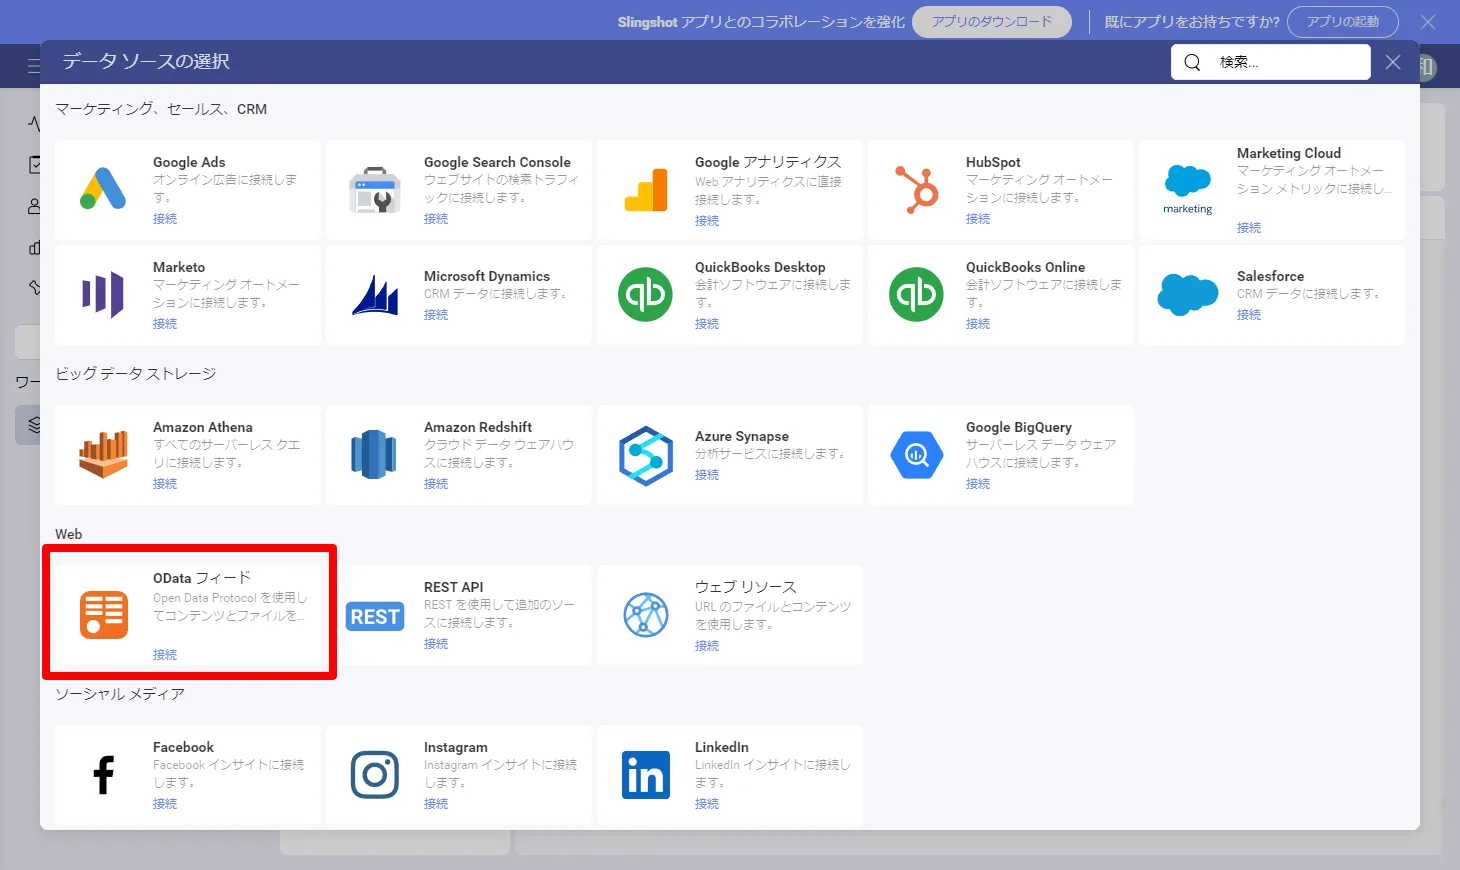
- Slingshot の対象のワークスペースに移動して「データソース」タブに移動し「+データソース」をクリックします。
- データソースの一覧から利用したいサービスを選択します。ここで先程CData API Server で設定したOData エンドポイントの接続を追加します。
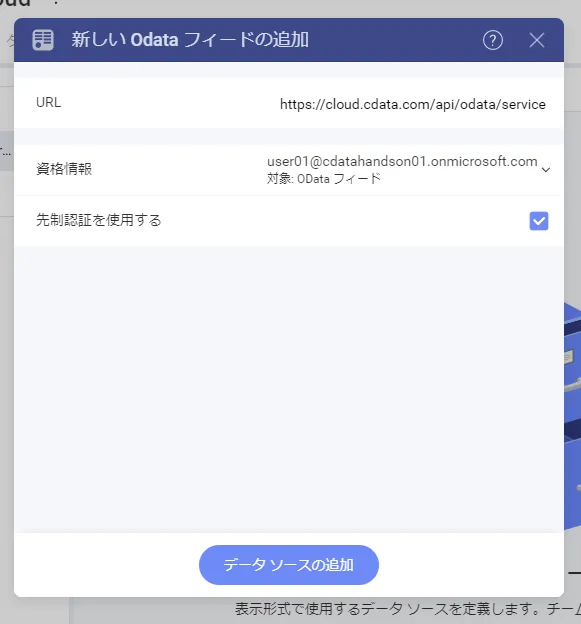
- 「URL」にOData エンドポイントのURL を指定し「先制認証を使用する」にチェックを入れます。その上で「資格情報」を追加しましょう。
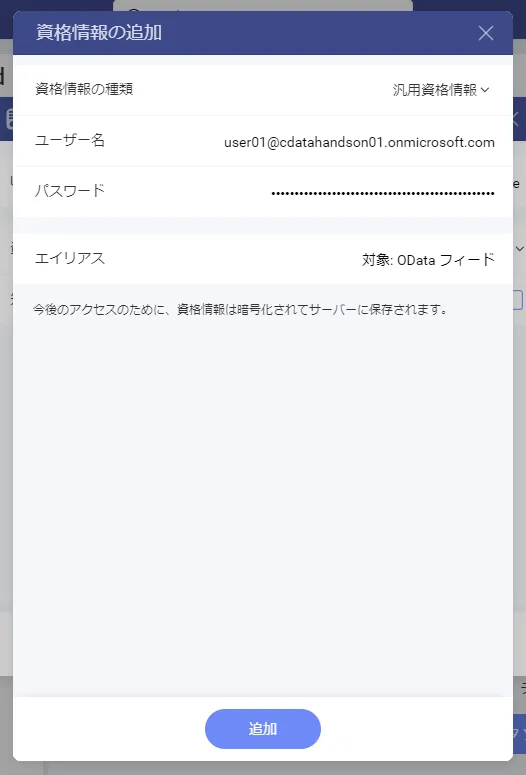
- 資格情報の種類は「汎用資格情報」になります。合わせてCData API Server のユーザー名を入力し、パスワードには先程生成したトークンを入力します。
- あとは「データソースの追加」をクリックすれば、データソースの接続設定は完了になります。

ダッシュボードを作成する
すべての準備が整ったのでAPI のデータを活用してダッシュボードを作成していきましょう。
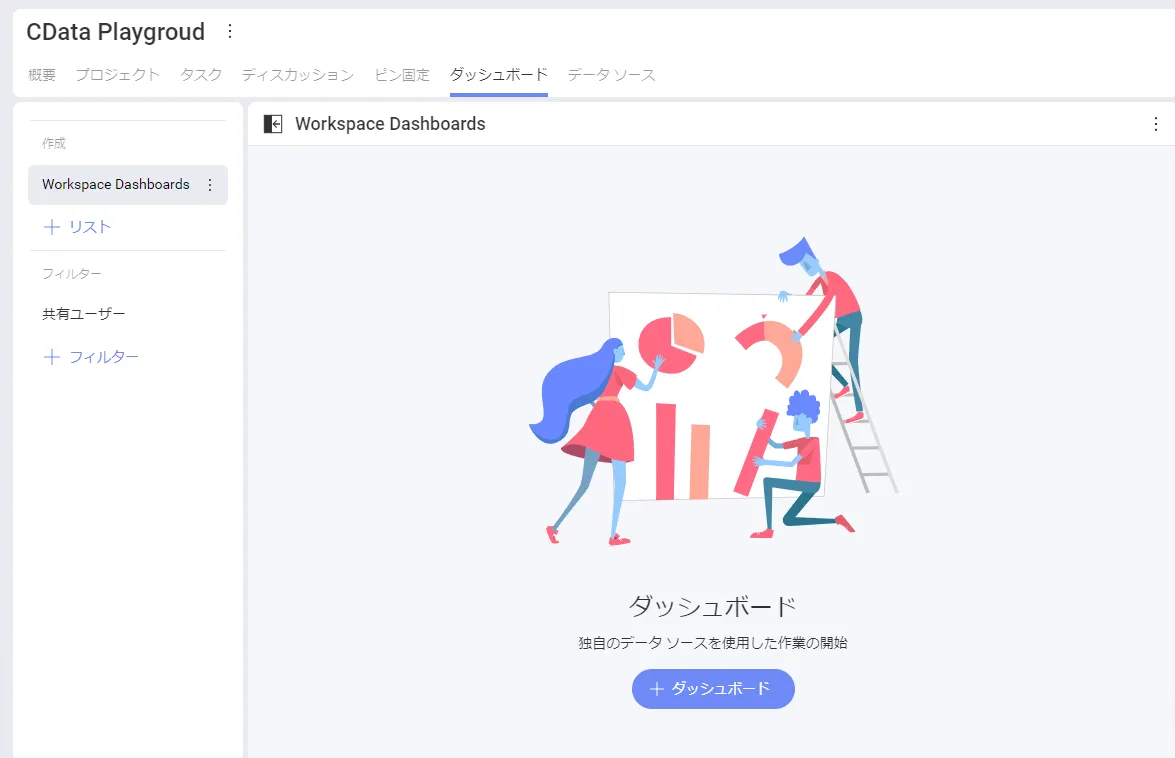
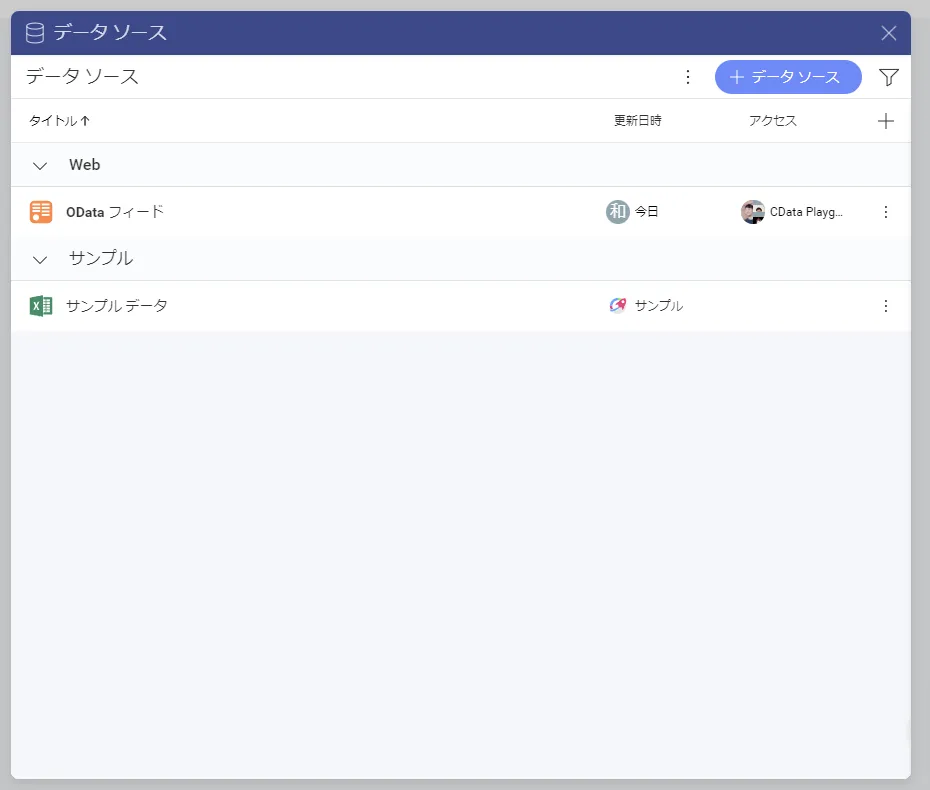
- 「ダッシュボード」タブに移動して「+ダッシュボード」をクリックします。
- 先程追加したCData API Server へのOData フィードデータソースが表示されるので、これを選択します。
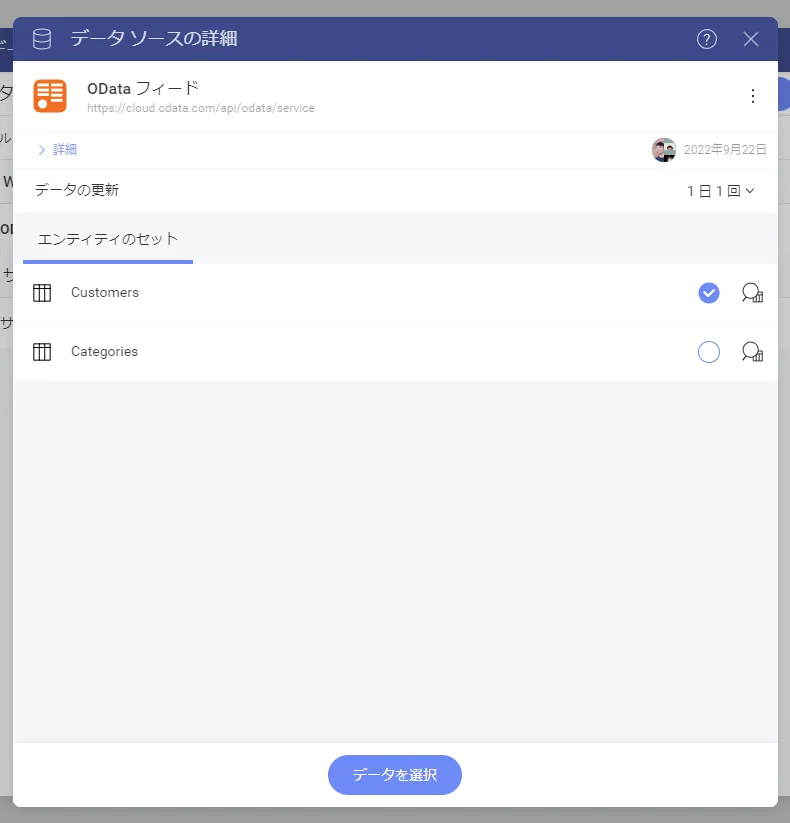
- すると、事前にCData API Server 上で登録しておいたテーブルの一覧がエンティティのセットとして表示されるので、任意のエンティティを選択しましょう。
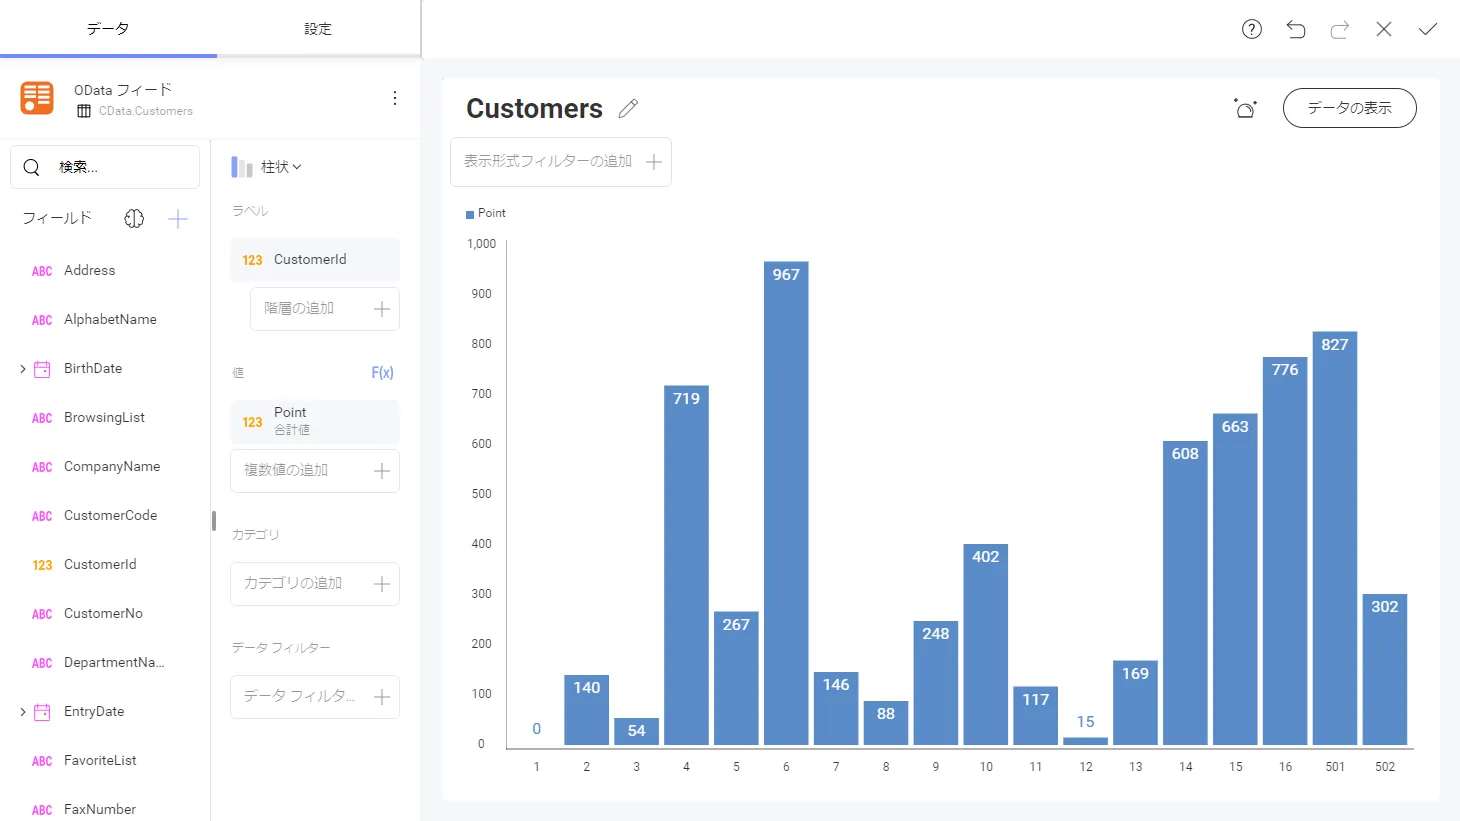
- これでSlingshot 上に対象のデータがシームレスに読み込まれます。あとは可視化するためのラベルや値を選択することで、以下のように簡単にビジュアライズが実施できます。
まとめと30日の無償評価版のご案内
このように API 内のデータをSlingshot で利用することができるようになります。CData API Server は、30日の無償評価版があります。是非、お試しいただき、Slingshot からのデータ参照を体感ください。