


Power Automate を使用してAPI のデータを自動化されたタスクに統合

Microsoft Power Automate は、一般的なアプリとサービスでイベント(ワークフロー)を自動化するオンラインサービスです。CData Connect AI と組み合わせると、ビジュアライゼーションやダッシュボード用にAPI のデータにクラウドベースでアクセスできます。この記事では、Power Automate からConnect AI に接続し、リアルタイムAPI のデータをワークフローとタスクに統合する方法を説明します。
Connect AI からAPI に接続する
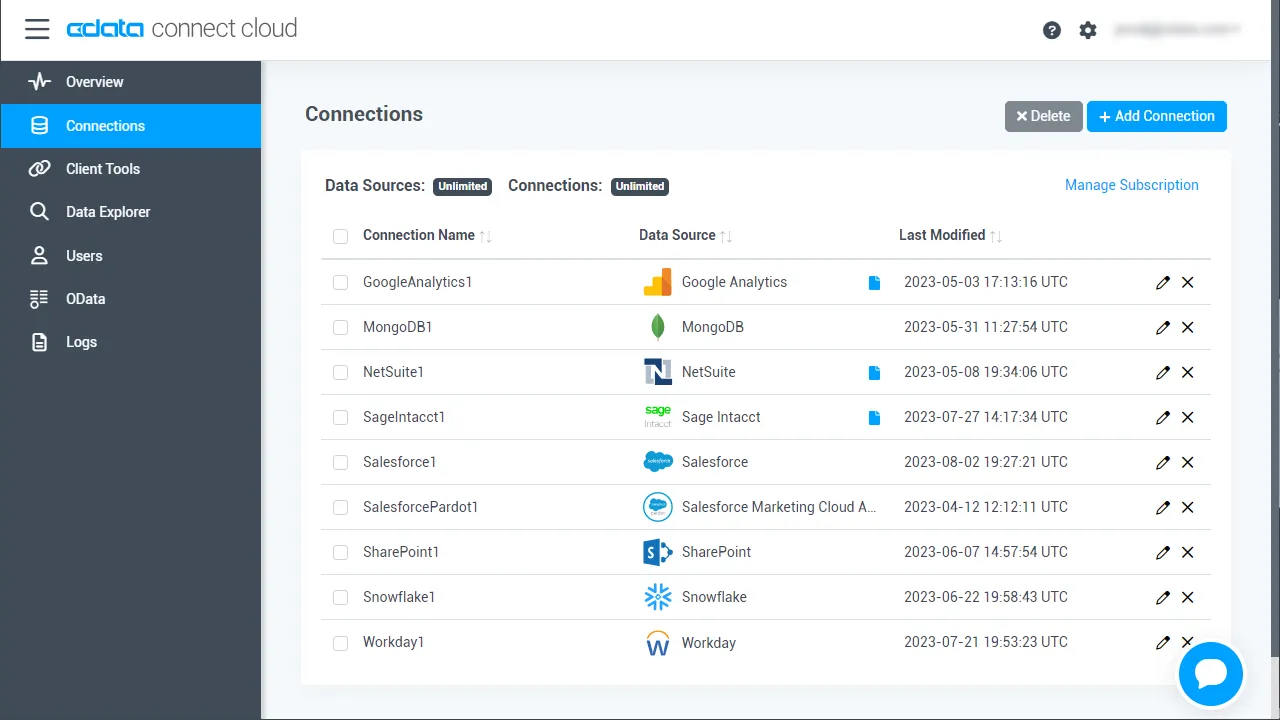
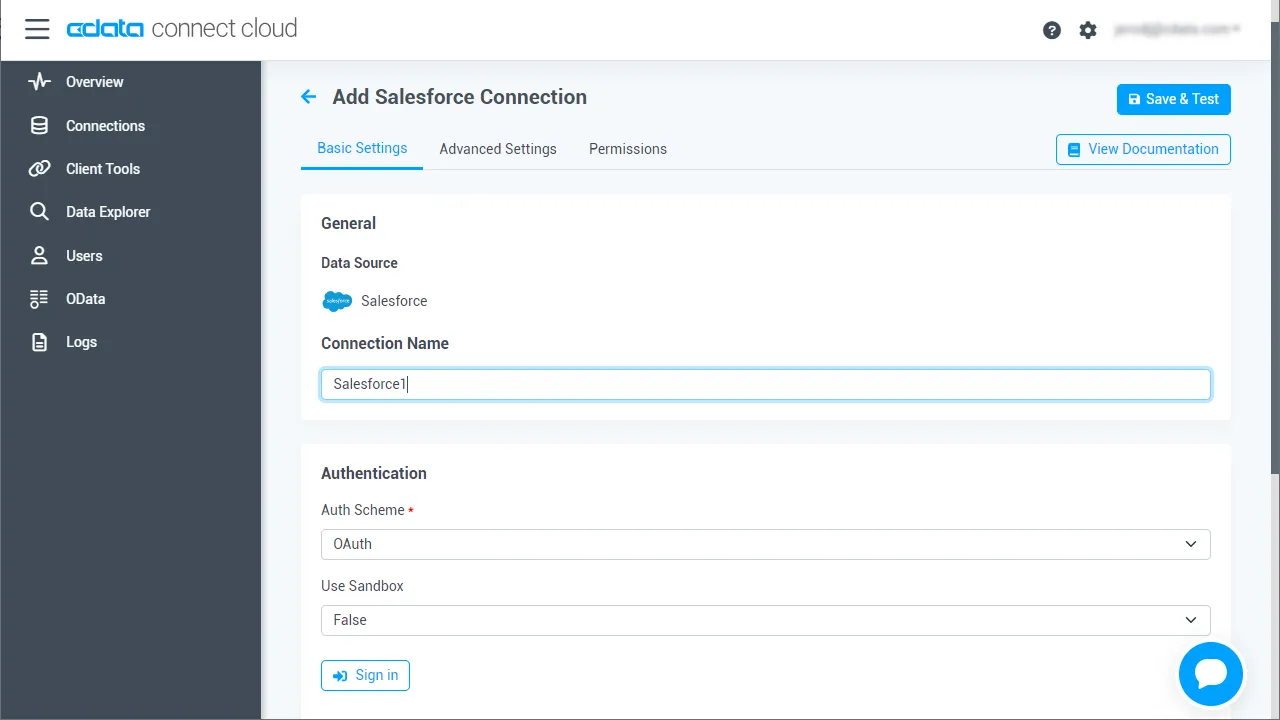
CData Connect AI は直感的なクリック操作ベースのインターフェースを使ってデータソースに接続します。- Connect AI にログインし、 Add Connection をクリックします。
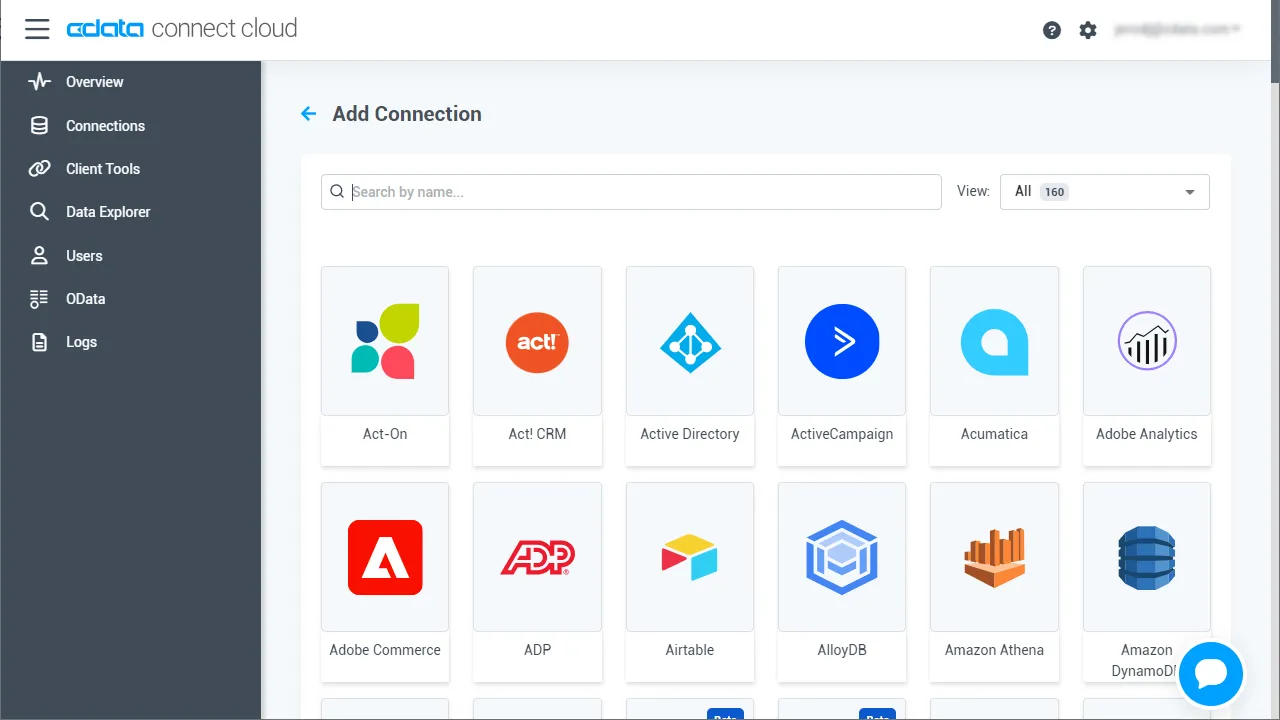
- Add Connection パネルから「API」を選択します。
-
必要な認証プロパティを入力し、API に接続します。
To connect to your API, configure the following properties on the Global Settings page:
- In Authentication, select the Type and fill in the required properties
- In Headers, add the required HTTP headers for your API
- In Pagination, select the Type and fill in the required properties
After the configuring the global settings, navigate to the Tables to add tables. For each table you wish to add:
- Click "+ Add"
- Set the Name for the table
- Set Request URL to the API endpoint you wish to work with
")
- (Optional) In Parameters, add the required URL Parameters for your API endpoint
- (Optional) In Headers, add the required HTTP headers for the API endpoint
- In Table Data click " Configure"
- Review the response from the API and click "Next"
")
- Select which element to use as the Repeated Elements and which elements to use as Columns and click "Next"
")
- Preview the tabular model of the API response and click "Confirm"
")
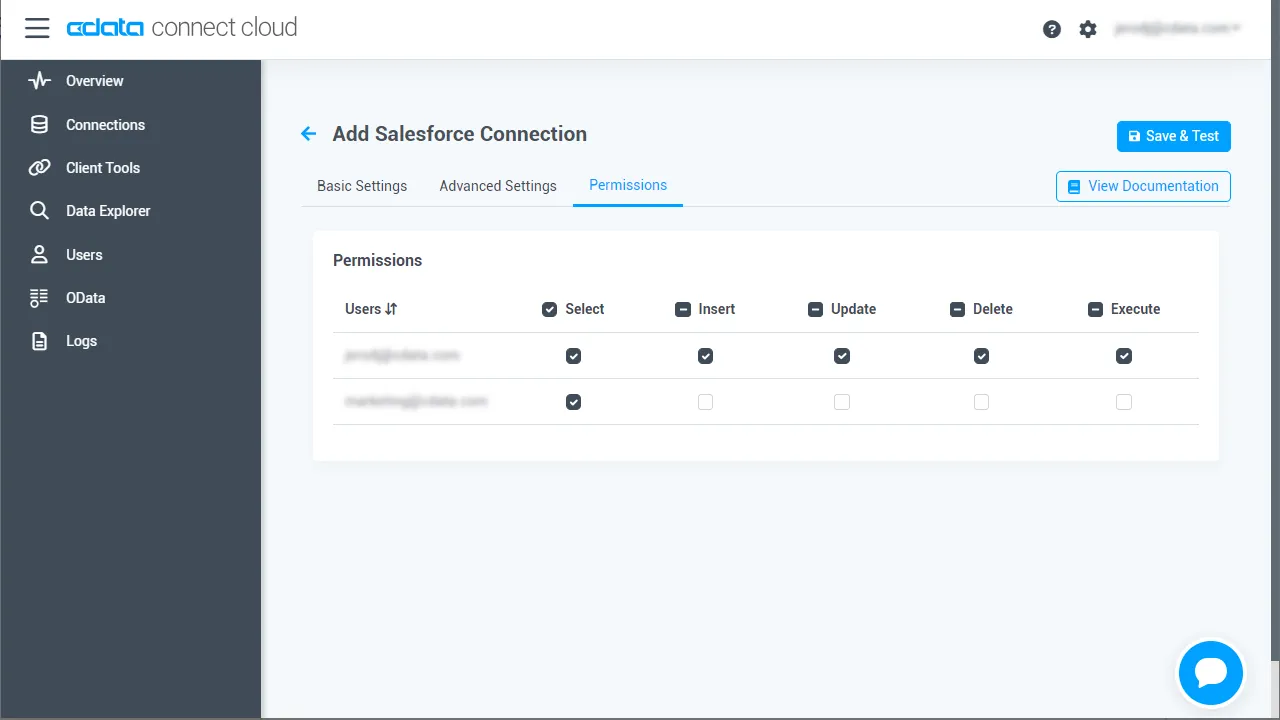
- Create & Test をクリックします。
- Edit API Connection ページのPermissions タブに移動し、ユーザーベースのアクセス許可を更新します。
パーソナルアクセストークンの追加
OAuth 認証をサポートしていないサービス、アプリケーション、プラットフォーム、またはフレームワークから接続する場合は、認証に使用するパーソナルアクセストークン(PAT)を作成できます。きめ細かなアクセス管理を行うために、サービスごとに個別のPAT を作成するのがベストプラクティスです。
- Connect AI アプリの右上にあるユーザー名をクリックし、User Profile をクリックします。
- User Profile ページでPersonal Access Token セクションにスクロールし、 Create PAT をクリックします。
- PAT の名前を入力して Create をクリックします。
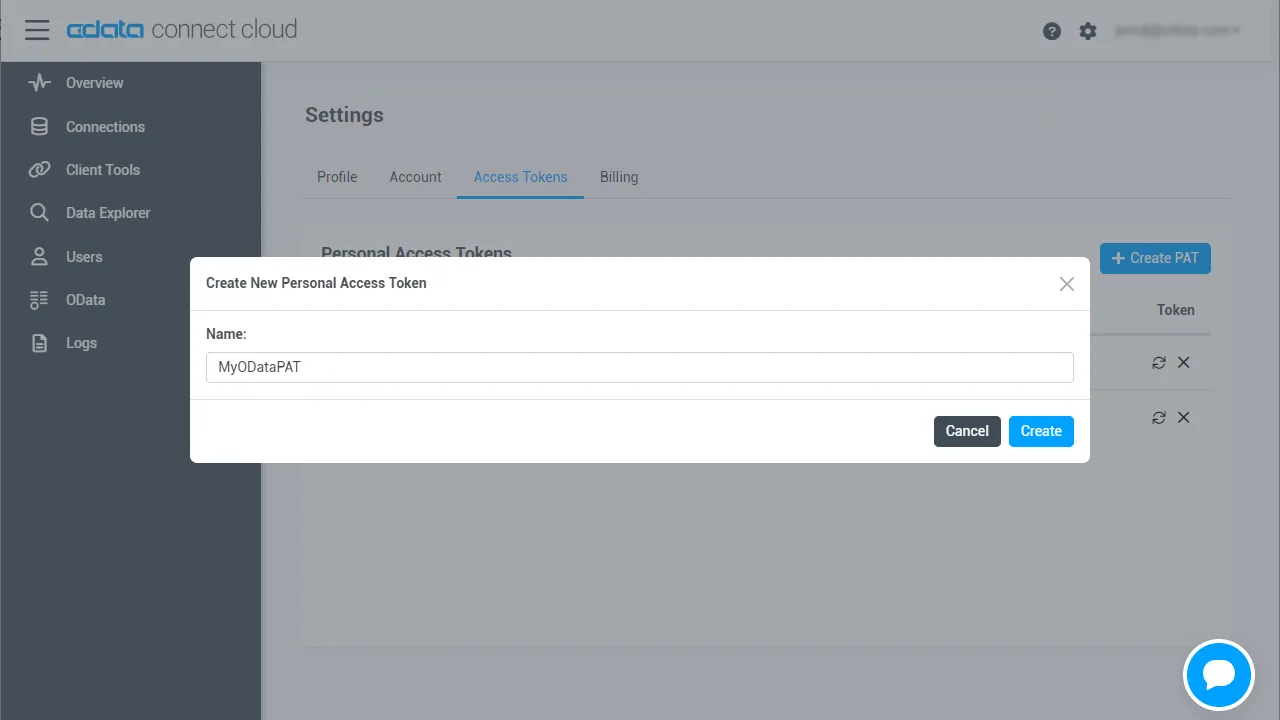
- パーソナルアクセストークンは作成時にしか表示されないため、必ずコピーして安全に保存してください。
コネクションが構成されたら、Power Automate からAPI に接続できるようになります。
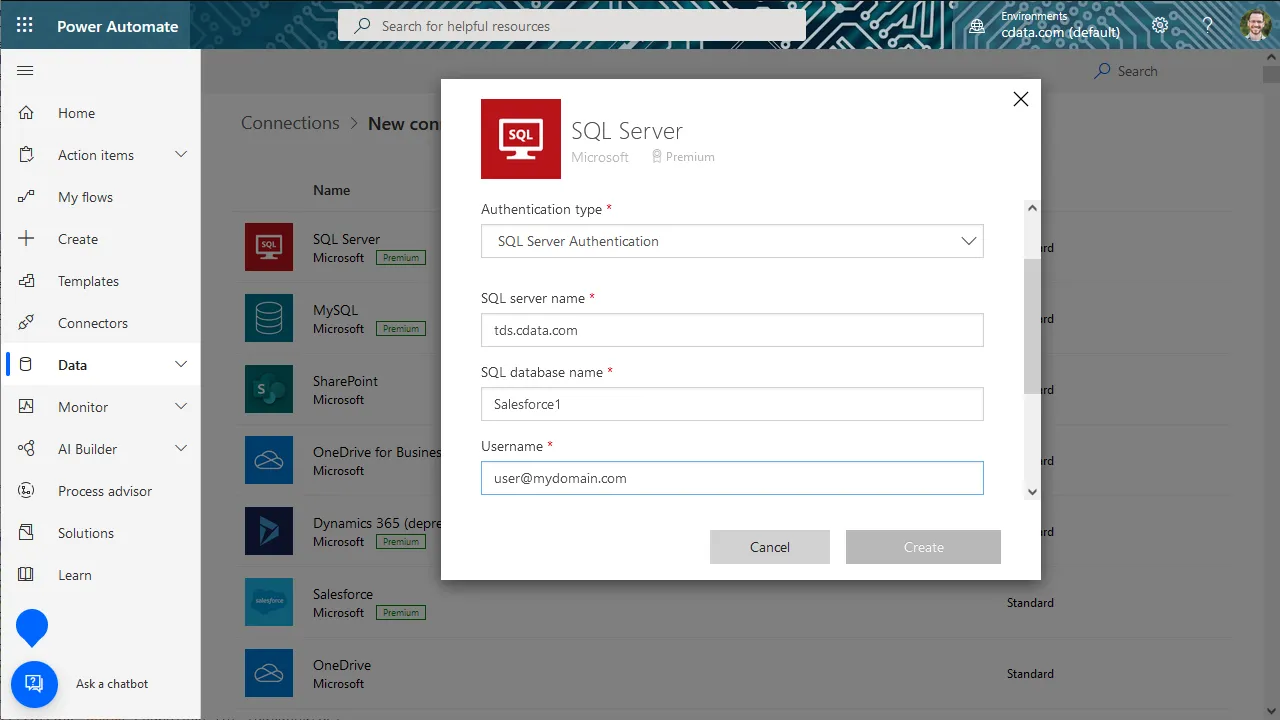
CData Connect AI に接続する
Connect AI を使用してAPI のデータをPower Automate タスクに統合するには、新しいSQL Server 接続が必要です。
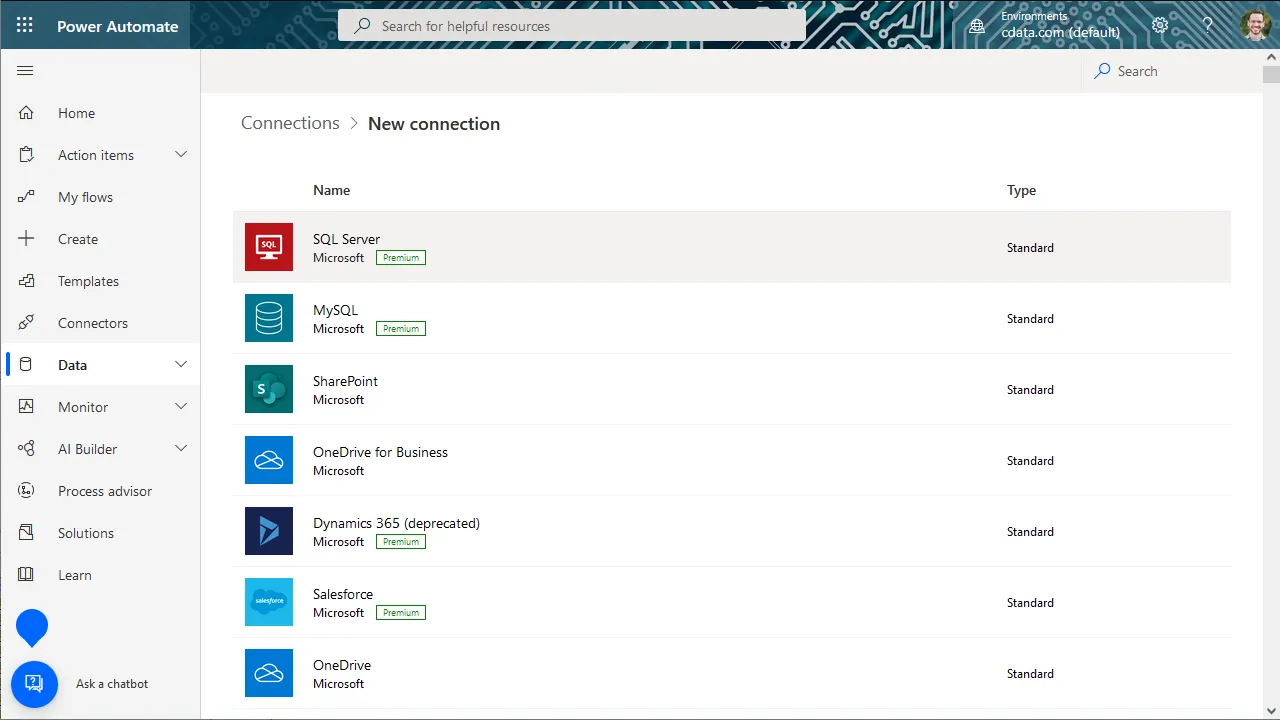
- Power Automate にログインします。
- Data -> Connections -> New connection とクリックします。
- SQL Server を選択します。
- 接続ウィザードにて:
- 直接接続するように選択します。
- SQL server name をtds.cdata.com,14333 に設定します。
- SQL database name をAPI コネクションの名前(API1 など)に設定します。
- Username をConnect AI のユーザーに設定します。([email protected])
- Password を上記のユーザーのPAT に設定します。
- Create をクリックします。
API のデータをPower Automate タスクに統合する
Connect AI への接続が構成されたら、リアルタイムAPI のデータをPower Automate タスクに統合することができるようになります。
- Power Automate にログインします。
- My flows -> New flow とクリックし、空白またはテンプレートからフローを作成することを選択します。
- SQL Server アクション(Get rows など)を追加または構成し、Connect AI コネクションに接続するようにアクションを構成します。
- 使用するテーブルをドロップダウンメニューから選択し、詳細オプション(フィルタ、オーダーなど)を構成します。
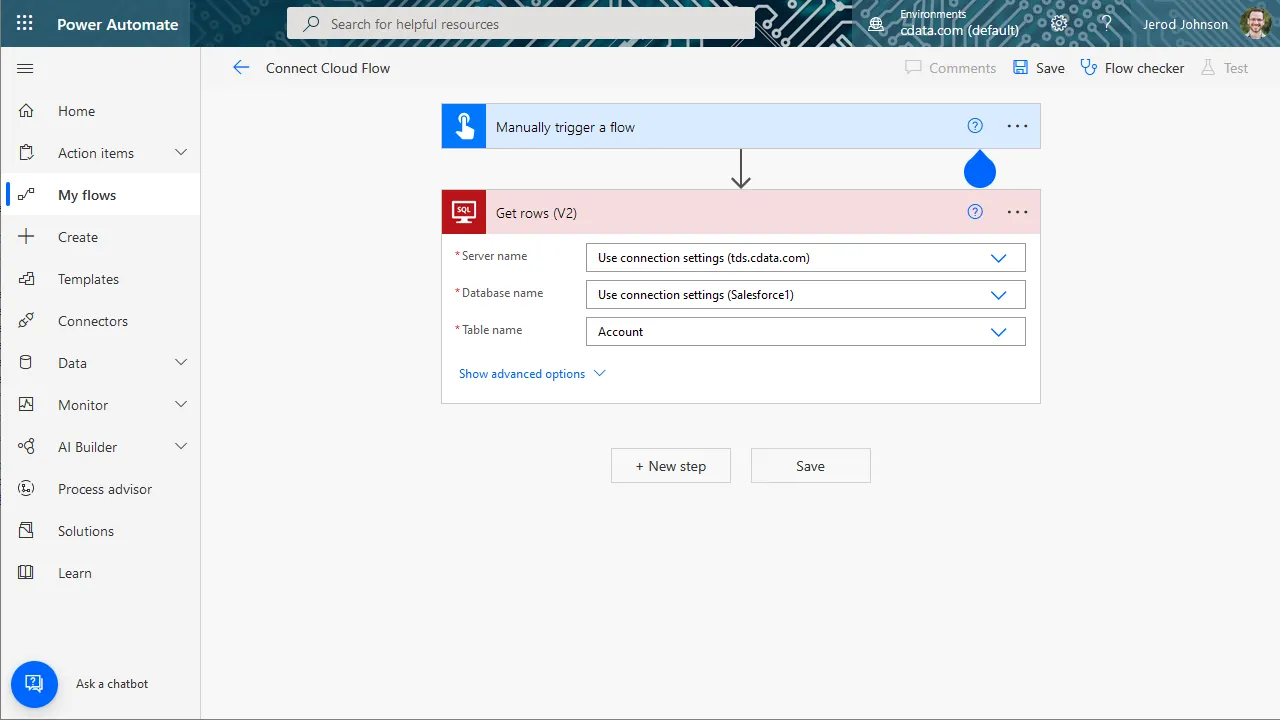
- その後のアクションを構成してテストし、フローを保存します。
クラウドアプリケーションからAPI のデータへのSQL アクセス
Power Automate タスクからAPI のデータへリアルタイムに直接接続できるようになりました。これで、API のデータを複製せずにより多くの接続とワークフローを作成してビジネスを推進できます。
クラウドアプリケーションから直接100を超えるSaaS 、ビッグデータ、NoSQL ソースへのSQL データアクセスを取得するには、CData Connect AI を参照してください。
Power Automate の関連記事
この記事では、CData Connect AI とPower Automate(オンライン)の使用について説明しました。Power Automate Desktop を使用するその他の方法については、以下の記事をご覧ください。