


【徹底解説】Dash を使ってPython からZoho Recruit のデータに連携するアプリを簡単に開発

Python エコシステムには、多くのモジュールがあり、システム構築を素早く効率的に行うことができます。CData Python Connector for API を使うことで、pandas モジュールとDash フレームワークでZoho Recruit にデータ連携するアプリケーションを効率的に開発することができます。本記事では、pandas、Dash とCData Connector を使って、Zoho Recruit に連携して、Zoho Recruit のデータ をビジュアライズするシンプルなウェブアプリを作る方法をご紹介します。
CData Python Connectors の特徴
CData Python Connectors は、以下のような特徴を持った製品です。
- Zoho Recruit をはじめとする、CRM、MA、会計ツールなど多様なカテゴリの270種類以上のSaaS / オンプレデータソースに対応
- Dash をはじめとする多様なデータ分析・BI ツールにZoho Recruit のデータを連携
- ノーコードでの手軽な接続設定
必要なモジュールのインストール
まずは、pip で必要なモジュールおよびフレームワークをインストールします:
pip install pandas
pip install dash
pip install dash-daq
Python でZoho Recruit のデータを可視化
必要なモジュールとフレームワークがインストールされたら、ウェブアプリを開発していきます。コードのスニペットは以下の通りです。フルコードは記事の末尾に掲載しているので、参考にしてください。
まず、CData Connector を含むモジュールをインポートします:
import os
import dash
import dash_core_components as dcc
import dash_html_components as html
import pandas as pd
import cdata.api as mod
import plotly.graph_objs as go
接続文字列を使ってデータへの接続を確立します。connect 関数を使ってCData Zoho Recruit Connector からZoho Recruit のデータ との接続を確立します。
cnxn = mod.connect("Profile=C:\profiles\ZohoRecruit.apip;ProfileSettings='Domain=.com';AuthScheme=OAuth;InitiateOAuth=GETANDREFRESH;OAuthClientId=your_client_id;OAuthClientSecret=your_client_secret;CallbackUrl=your_callback_url;")
ZohoRecruit への認証では、OAuth 標準を使って自分のデータに接続したり、他のユーザーが各自のデータに接続できるようにしたりできます。
OAuth 認証の設定
まず、ZohoRecruit に OAuth アプリケーションを登録する必要があります。登録するには、Zoho Developer Console に移動して、新しい Client(Server-based application)を追加し、有効な OAuth リダイレクト URL を設定します。OAuth アプリケーションには client id と client secret が割り当てられます。さらに、該当する Domain(.com、.eu、.in、.com.cn、または .jp)を設定する必要があります。デフォルトは .com です。
以下の接続プロパティを設定して接続を確立してください:
- AuthScheme:OAuth に設定します。
- InitiateOAuth:GETANDREFRESH に設定します。InitiateOAuth を使うと、OAuthAccessToken を取得するプロセスを管理できます。
- OAuthClientId:アプリ設定で指定された client_id に設定します。
- OAuthClientSecret:アプリ設定で指定された client_secret に設定します。
- CallbackURL:アプリ設定で指定されたリダイレクト URI に設定します。
- Domain:ProfileSettings に設定して、ZohoRecruit アカウントのドメイン(例:.com、.eu、.in、.com.cn、.jp)を指定します。
接続文字列の例:
Profile=C:\profiles\ZohoRecruit.apip;ProfileSettings='Domain=.com';AuthScheme=OAuth;InitiateOAuth=GETANDREFRESH;OAuthClientId=your_client_id;OAuthClientSecret=your_client_secret;CallbackUrl=your_callback_url;
Zoho Recruit にクエリを実行
read_sql 関数を使って、padas からSQL 文を発行し、DataFrame に結果を格納します。
df = pd.read_sql("""SELECT , FROM Attachments WHERE Module = 'Candidates'""", cnxn)
ウェブアプリケーションの設定
DataFrame に格納されたクエリ結果を使って、ウェブアプリにname、stylesheet、title を設定していきます。
app_name = 'dash-apiedataplot'

external_stylesheets = ['https://codepen.io/chriddyp/pen/bWLwgP.css']

app = dash.Dash(__name__, external_stylesheets=external_stylesheets)
app.title = 'CData + Dash'
Layout 設定
次に、Zoho Recruit のデータ をベースにした棒グラフを作詞し、アプリのレイアウトを設定します。
trace = go.Bar(x=df., y=df., name='')

app.layout = html.Div(children=[html.H1("CData Extention + Dash", style={'textAlign': 'center'}),
	dcc.Graph(
		id='example-graph',
		figure={
			'data': [trace],
			'layout':
			go.Layout(alt='Zoho Recruit Attachments Data', barmode='stack')
		})
], className="container")
アプリをセットアップして実行
接続、アプリ、レイアウトを定義したら、アプリを実行してみましょう。以下のコードで実行できます。
if __name__ == '__main__':
    app.run_server(debug=True)
最後に、Python でウェブアプリを起動してブラウザでZoho Recruit のデータ を見てみましょう。
python api-dash.py
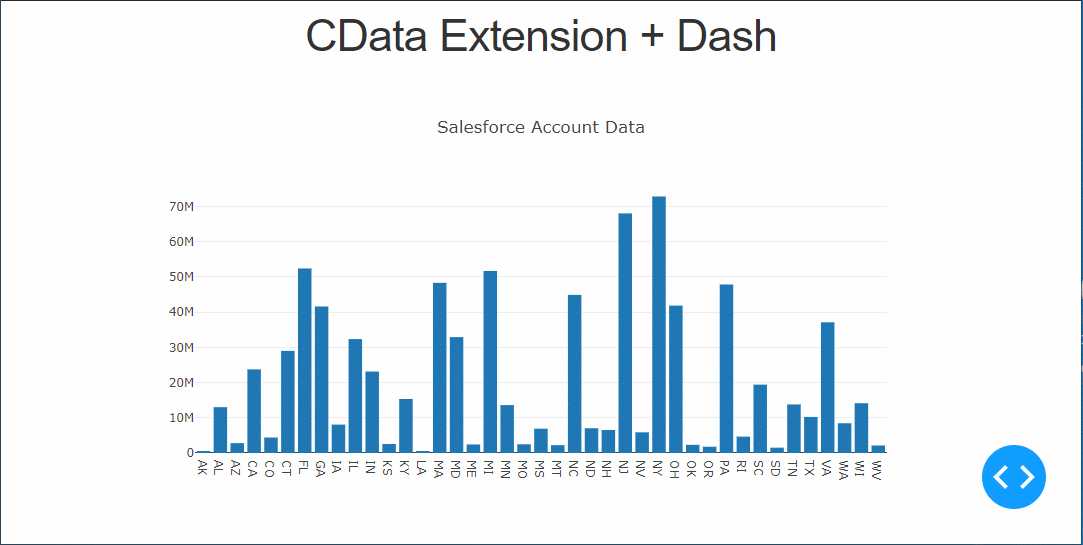
ちゃんとデータが表示できてますね!
おわりに
Zoho Recruit Python Connector の30日の無償トライアル をぜひダウンロードして、Zoho Recruit のデータ への接続をPython アプリやスクリプトから簡単に作成してみてください。
import os
import dash
import dash_core_components as dcc
import dash_html_components as html
import pandas as pd
import cdata.api as mod
import plotly.graph_objs as go

cnxn = mod.connect("Profile=C:\profiles\ZohoRecruit.apip;ProfileSettings='Domain=.com';AuthScheme=OAuth;InitiateOAuth=GETANDREFRESH;OAuthClientId=your_client_id;OAuthClientSecret=your_client_secret;CallbackUrl=your_callback_url;")

df = pd.read_sql("SELECT ,  FROM Attachments WHERE Module = 'Candidates'", cnxn)
app_name = 'dash-apidataplot'

external_stylesheets = ['https://codepen.io/chriddyp/pen/bWLwgP.css']

app = dash.Dash(__name__, external_stylesheets=external_stylesheets)
app.title = 'CData + Dash'
trace = go.Bar(x=df., y=df., name='')

app.layout = html.Div(children=[html.H1("CData Extention + Dash", style={'textAlign': 'center'}),
	dcc.Graph(
		id='example-graph',
		figure={
			'data': [trace],
			'layout':
			go.Layout(alt='Zoho Recruit Attachments Data', barmode='stack')
		})
], className="container")

if __name__ == '__main__':
    app.run_server(debug=True)